You’ve just bought your first ball of yarn, picked out a cute hook, and watched a dozen YouTube tutorials. You’re ready to make your very first crochet project—a cozy blanket, a charming amigurumi, or maybe even a pair of slippers. But then you open the pattern… and it’s full of strange symbols: *sc, dc, ch, inc, dec, repeat, and what in the world is a “magic ring”?
Don’t panic. You’re not alone.
Thousands of new crocheters feel the same way the first time they face a written pattern. It’s like being handed a secret code written in a language you’ve never studied. But here’s the good news: reading crochet patterns isn’t about memorizing rules—it’s about learning a new way of speaking. And once you get the hang of it, you’ll unlock a world of endless creativity, relaxation, and handmade joy.
In this guide, we’ll break down the mysterious world of crochet patterns into simple, bite-sized pieces. No jargon without explanation. No assumptions that you “should just know.” We’ll walk you through the anatomy of a pattern, decode the abbreviations, understand repeats and symbols, follow row-by-row instructions, and even troubleshoot common mistakes—all with real-life examples and friendly advice.
By the end, you won’t just read a pattern—you’ll confidently create from it. Whether you’re making your first scarf or planning your first gift, this guide will turn confusion into clarity. Let’s get started.
Understanding the Anatomy of a Crochet Pattern
Think of a crochet pattern like a recipe. You wouldn’t try to bake a cake without knowing what “preheat oven to 350°F” means, right? The same goes for crochet. Every pattern has a structure designed to guide you step by step.
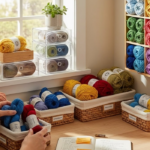
Most patterns start with basic information: the title, difficulty level (beginner, intermediate, advanced), estimated time, and the materials list. This section is your cheat sheet. It tells you exactly what yarn weight, hook size, and tools you need. Skipping this? That’s like trying to bake cookies with a spoon instead of a mixer—possible? Maybe. Easy? No.
Next comes the gauge. This might sound boring, but it’s crucial. Gauge tells you how many stitches and rows fit into a 4-inch square. If your gauge is off, your finished project might be way too big—or way too small. Imagine making a hat that fits your dog, not your head. Ouch. Always make a swatch before you begin. Just chain 15, work 10 rows in the stitch specified, then measure. It takes 10 minutes—and saves you hours of frustration later.
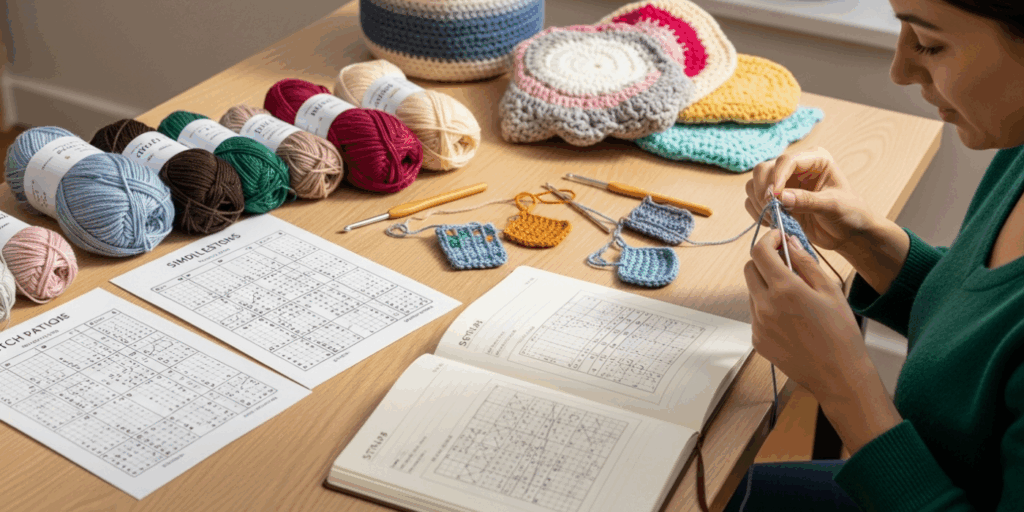
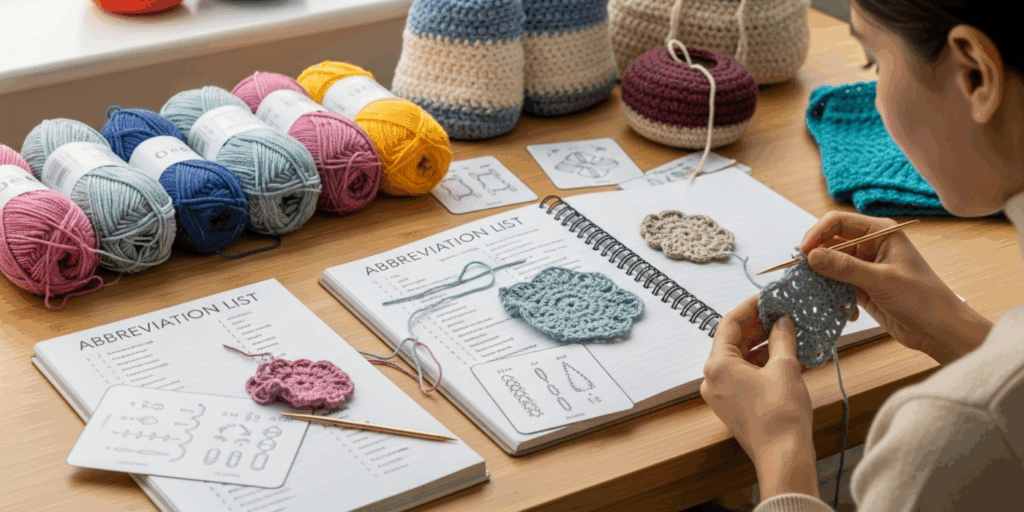
Then there’s the abbreviations section. This is where the “code” begins. You’ll see things like sc (single crochet), dc (double crochet), hdc (half double crochet). These aren’t random—they’re standardized across most English-language patterns. Most patterns include a key, but even if they don’t, you can find a universal chart online. Bookmark one. Keep it handy.
And don’t overlook the notes. These often contain hidden gems: “Work in continuous rounds,” “Do not turn at end of row,” or “Use a stitch marker.” These little details change everything. One missing note, and your project might spiral (literally) out of control.
💡 Pro Tip: Before you start stitching, read the entire pattern from top to bottom—even if you don’t understand everything yet. It gives you a mental map. You’ll know what’s coming, and that reduces panic when you hit a tricky part.
Patterns are written to be followed, not feared. Once you know where to find the essentials, you’re already halfway there.
Decoding the Abbreviations: Your Crochet Dictionary
Let’s talk abbreviations. They’re the building blocks of every pattern. And yes, they look like a secret club at first. But here’s the truth: there are only about 15 core abbreviations you need to know to read 90% of beginner patterns.
Here’s your starter kit:
- ch = chain
- sc = single crochet
- dc = double crochet
- hdc = half double crochet
- tr = treble crochet
- sl st = slip stitch
- inc = increase (two stitches in one)
- dec = decrease (two stitches worked together)
- rep = repeat
- rnd = round
- st(s) = stitch(es)
- sp = space
- yo = yarn over
- tog = together
- (*) = repeat everything between the asterisks
That’s it. Seriously. You don’t need to memorize “popcorn stitch” or “shell stitch” right away. Focus on the basics.
Now, here’s where it gets fun: how they’re used in sentences.
Take this line:
Rnd 1: Ch 2, 6 sc in 2nd ch from hook. (6)
Let’s break it down:
- “Ch 2” = chain two stitches.
- “6 sc in 2nd ch from hook” = make six single crochets into the second chain from your hook (not the first one—that’s where your hook is).
- “(6)” = you should have 6 stitches total at the end of this round.
It’s like a mini math problem—but with yarn. And when you get it right? It’s so satisfying.
🌟 Real-Life Example: Sarah, a 62-year-old retiree, made her first amigurumi bunny using this exact method. She printed out the abbreviations, stuck them on her fridge, and used a highlighter to track each row. “I felt like a detective,” she told me. “Every time I got the number right, I cheered.”
You don’t need to be a genius. You just need patience and a little system.
Bonus Tip: If you see a pattern with symbols like [ ] or ( ), those are grouping tools.
- [ ] usually means “do this entire set of instructions.”
- ( ) often means “total stitch count at the end of this step.”
- * means “repeat from here.”
Write these down. Tape them to your yarn basket. Soon, you’ll read them without thinking.
Following Repeats and Patterns: The Magic of “Repeat”
One of the biggest “aha!” moments for new crocheters? Understanding repeats.
Imagine you’re making a scarf. The pattern says:
Row 2: Ch 1, sc in first st, ch 2, skip 2 sts, sc in next st; rep from * to end, sc in last st.
That asterisk is your secret weapon. It tells you: Do this little sequence over and over until you can’t anymore.
So you do:
- Single crochet in the first stitch.
- Chain 2, skip two stitches, single crochet in the next.
- Then… you do that again. And again. And again.
You don’t have to write out every single stitch. The pattern saves you time by saying, “Just repeat this little chunk.” That’s efficiency. That’s genius.
🧩 Think of it like a song chorus. You don’t sing the whole song every time—you sing the chorus multiple times. Same idea.
Repeats are everywhere: in blankets, hats, even sweaters. They create rhythm, texture, and beauty. Without them, every row would be a novel-length instruction.
Here’s another common format:
Rep rows 1–4 until piece measures 12 inches.
That means: Do rows 1, 2, 3, 4. Then do them again. And again. Until your piece is the right length. No counting each row individually. Just group them.
Why this matters: Repeats reduce mistakes. When you’re working the same sequence over and over, your hands learn the rhythm. It becomes meditative. It becomes fun.
💬 Pro Tip: Use a row counter app or even a simple pen and paper. Check off each repeat. It gives you a sense of progress—and prevents that “Wait… did I already do this?” panic.
And if you lose track? Don’t stress. Just count your stitches. If the total matches the pattern’s number at the end of the row, you’re golden.
Reading Row-by-Row Instructions Like a Pro
Now that you know the abbreviations and repeats, let’s tackle the most intimidating part: following the instructions row by row.
Here’s a real example from a beginner hat pattern:
Rnd 1: Ch 2, 8 sc in 2nd ch from hook. Join with sl st to first sc. (8)
Rnd 2: Ch 1, 2 sc in each st around. Join with sl st. (16)
Rnd 3: Ch 1, sc in next st, 2 sc in next st; rep from * to end. Join with sl st. (24)
At first glance, it looks like a foreign language. But let’s translate it into plain English:
- Round 1: Make a magic loop (or chain 2), put 8 single crochets inside. Join the last stitch to the first to form a circle. You now have 8 stitches.
- Round 2: Chain 1 (this doesn’t count as a stitch), then put two single crochets into each stitch from the previous round. You’re doubling your stitches—this is how you make the circle grow. Now you have 16.
- Round 3: Chain 1. Now, one stitch plain, one stitch doubled. Repeat that pattern all the way around. You’ll end up with 24 stitches.
See? It’s just a sequence of small actions. No magic. Just math and muscle memory.
Here’s how to read any row successfully:
- Start with the first instruction (e.g., “Ch 1”). Do it.
- Look for asterisks or brackets. These signal repeats.
- Check the stitch count in parentheses. Is your total matching? If not, go back.
- Don’t skip the join instructions. “Join with sl st” means you’re closing the round. If you miss it, your project will twist.
- Use stitch markers. Place one at the beginning of each round. Move it up as you go. It’s like a tiny GPS for your crochet.
🎯 Real Story: Jake, a college student, made his first beanie and ended up with a lopsided mess. He realized he’d been forgetting to join each round. “I thought the pattern was broken,” he laughed. “Turns out, I was just skipping the ‘sl st’ part. Now I mark every round with a safety pin. Life-changing.”
Small habits. Big results.
Troubleshooting Common Mistakes (And How to Fix Them)
Even the best crocheters make mistakes. The difference? They know how to spot and fix them.
Here are the top 3 mistakes new crocheters make—and how to solve them fast:
1. Miscounting Stitches
You end up with 12 stitches when the pattern says 10. Or worse—you have 18.
✅ Fix: Stop. Count. Use a stitch marker to mark the first stitch of the row. Count each stitch out loud. If you’re off, don’t rip out the whole thing—just find where you added an extra stitch. Often, it’s in a repeat section where you accidentally did two stitches in one space.
2. Twisting Your Work
Your hat looks like a pretzel. Your blanket curls.
✅ Fix: You probably didn’t join rounds properly. Always make sure your slip stitch connects to the first stitch of the round, not the chain. And never twist your chain when you start a round.
3. Ignoring the Gauge
Your sweater fits your cat.
✅ Fix: Make a swatch before you start. If it’s too small, go up a hook size. Too big? Go down. It’s that simple.
✨ Bonus Hack: If you’re unsure, take a photo of your work every few rows. Compare it to the pattern’s photo (if available). Sometimes your eye catches a problem your hands miss.
And remember: mistakes aren’t failures—they’re lessons. Every crocheter has a “project from hell” in their stash. Mine? A scarf that ended up as a dog bed. I still love it.
Putting It All Together: Your First Pattern, Successfully Completed
Let’s imagine you’ve followed all the steps above. You’ve read the materials list. You’ve checked your gauge. You’ve memorized your abbreviations. You’ve learned how to spot repeats. You’ve even fixed a mistake or two.
Now, you’re ready to start your first full pattern.
Pick something simple: a dishcloth, a coaster, or a basic beanie. All of these use just sc and ch. No fancy stitches. Just rhythm.
As you work, say the instructions out loud:
“Chain 1. Single crochet in each stitch. Chain 1. Turn.”
Say it. Feel it. Let your hands follow.
And when you finish? Celebrate.
Take a photo. Post it. Send it to a friend. Say, “I made this.” Because you did. And that’s powerful.
Crochet isn’t just about making things. It’s about building confidence. Every stitch is a tiny win. Every completed row is proof you can learn something new.
You don’t need to be perfect. You just need to keep going.
Conclusion: You’re Not Just Crocheting—You’re Creating Confidence
So let’s recap what you’ve learned:
- Crochet patterns are like recipes—they’re designed to guide you, not confuse you.
- Abbreviations are your new vocabulary. Learn the top 15, and you’re 90% there.
- Repeats are your shortcut to beautiful, consistent work.
- Row-by-row instructions become easy once you break them into small steps.
- Mistakes? Normal. Fixable. Even beautiful in their own way.
This isn’t just about yarn and hooks. It’s about learning to trust yourself. To follow instructions, stay patient, and celebrate small progress. Those are life skills wrapped in a cozy blanket.
So go ahead. Pick up that pattern you’ve been avoiding. Print it out. Grab your hook. Make that swatch. Do the math. Count the stitches. Say the words out loud.
You’ve got this.
And when you finish your first project? Come back here and tell me in the comments: What did you make? What was your biggest “I did it!” moment?
I’d love to cheer you on.
And if this guide helped you, share it with a friend who’s just starting out. Because the world needs more handmade love—and more people who believe they can learn something new, one stitch at a time.
Happy crocheting. 🧶💛

Luiza Santos is a passionate crochet and knitting enthusiast who finds joy in transforming simple yarn into meaningful, handmade creations. With a deep love for texture, color, and craftsmanship, she believes every stitch carries a story. Luiza brings warmth, creativity, and years of hands-on experience to everything she makes, inspiring others to discover the beauty of fiber arts.