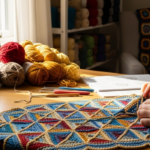
Imagine running your fingers over a cozy blanket and feeling not just softness—but movement. Ripples like ocean waves. Twists like braided rope. Grooves that catch the light and cast tiny shadows, as if the yarn itself is alive. That’s the magic of cable crochet.
If you’ve ever admired a chunky knit sweater with those elegant, twisted patterns and thought, “I wish I could make that with my hook…”—you’re not alone. Cable crochet brings the rich, dimensional beauty of knitting to the world of crochet, turning simple stitches into sculptural art. And the best part? You don’t need to learn knitting to do it.
In this guide, we’ll walk you through everything you need to know to create stunning cable textures with your crochet hook—from the basic mechanics behind the stitches, to practical tips for avoiding common mistakes, to inspiring project ideas that’ll make your creations stand out. Whether you’re a beginner looking to level up or an experienced crocheter tired of flat, predictable patterns, cable crochet will open a whole new dimension in your work.
Let’s dive in.
Why Cable Crochet Changes Everything
Most crochet patterns rely on repeating rows of single, double, or treble stitches. They’re beautiful, sure—but they often lie flat. Think of them like a smooth wall. Cable crochet? That’s a stone wall. A textured, hand-carved masterpiece.
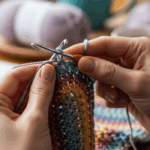
The magic lies in crossing stitches over each other, mimicking the way knitters twist stitches to create cables. In crochet, we do this by skipping stitches, working into them later, and pulling the “front” stitches over the “back” ones. The result? A 3D effect that pops off the fabric, adding depth, movement, and tactile appeal.
Why does this matter? Because texture isn’t just decorative—it’s emotional. A cable-stitched afghan doesn’t just keep you warm; it feels like comfort. A cable hat doesn’t just cover your head—it tells a story of craftsmanship. Studies in design psychology show that tactile surfaces increase feelings of calm and connection. When someone runs their hand over your crochet piece and pauses, intrigued? That’s the power of texture.
Plus, cable patterns are timeless. They’ve been used for centuries in traditional Irish Aran sweaters, where each twist symbolized something—fishing nets, ropes, family ties. Today, they’re making a huge comeback in modern fashion and home décor. Think of cable crochet as the bridge between heritage craft and contemporary style.
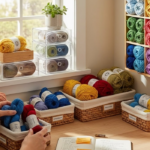
And here’s the best news: you don’t need fancy tools. Just your hook, yarn, and a little patience.
How Cable Crochet Works (No Knitting Required!)
Let’s break it down simply. In knitting, cables are made by sliding stitches onto a cable needle, holding them in front or back, then knitting the next stitches before returning to the held ones. In crochet, we skip that extra tool entirely.
Here’s the core trick: you’re rearranging the order of your stitches by working them out of sequence.
For example:
Say you’re working a row of double crochets (dc). You want to create a 4-stitch cable that twists to the right.
- Skip the next 2 stitches.
- Work 2 dc into the following 2 stitches.
- Now, go back to the 2 skipped stitches and work 2 dc into them.
Boom. Those two stitches you worked later are now in front of the ones you did first. That’s the twist. It looks like a little rope crossing over itself.
It’s like rearranging books on a shelf—you pull two from the middle, place two new ones in their spot, then slide the original two back in front. The order changes, and the visual effect is dramatic.
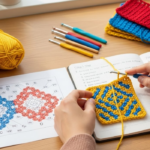
Pro tip: Use a stitch marker to mark the center of your cable. This helps you keep track of where the “cross” should happen. And always count your stitches before and after the cable—this is where most beginners get tripped up.
Start small. Try a 4-stitch cable on a swatch. Use a contrasting color yarn so you can clearly see the twist. Once you get the rhythm, you’ll be amazed at how intuitive it feels.
And yes—it’s reversible. Unlike some crochet textures that only look good from one side, a well-executed cable looks beautiful from both sides. That’s perfect for scarves, blankets, and bags that get handled from every angle.
Choosing the Right Yarn and Hook for Maximum Impact
Not all yarns are created equal when it comes to cable crochet. The secret? Definition.
You want a yarn that holds its shape. Bulky, wool-blend, or cotton yarns with good stitch definition work best. Why? Because cables need to stand out. If your yarn is too fuzzy (like chenille or some acrylic blends), the twists will blur together, and your cable will look muddy.
Think of it like painting: if you use a fine brush on a rough canvas, the detail gets lost. Same here.
Best yarn choices:
- Wool or wool blends (like Lion Brand Wool-Ease) – holds stitch definition beautifully and has natural elasticity.
- Cotton (like Lily Sugar ‘n Cream) – great for dishcloths, bags, or summer pieces. Holds crisp cables.
- Bulky weight (5) – perfect for quick projects and bold texture.
- Avoid: Super fuzzy, slippery, or thin yarns unless you’re going for a very subtle effect.
Your hook size matters too. Go one to two sizes larger than what the yarn label recommends. Why? Cable work tightens the fabric slightly. A larger hook keeps your stitches loose enough to cross smoothly without puckering or distorting.
Also, consider the color. Solid or semi-solid yarns showcase cables best. If you’re using variegated or heavily speckled yarn, the texture might get lost in the color changes. Save those for simpler patterns.
And here’s a little secret: test before you commit. Make a 4×4 inch swatch with your chosen yarn and hook. Work a few cable repeats. Hold it up to the light. Does the texture pop? Does it feel satisfying to touch? If yes—you’ve got your winner.
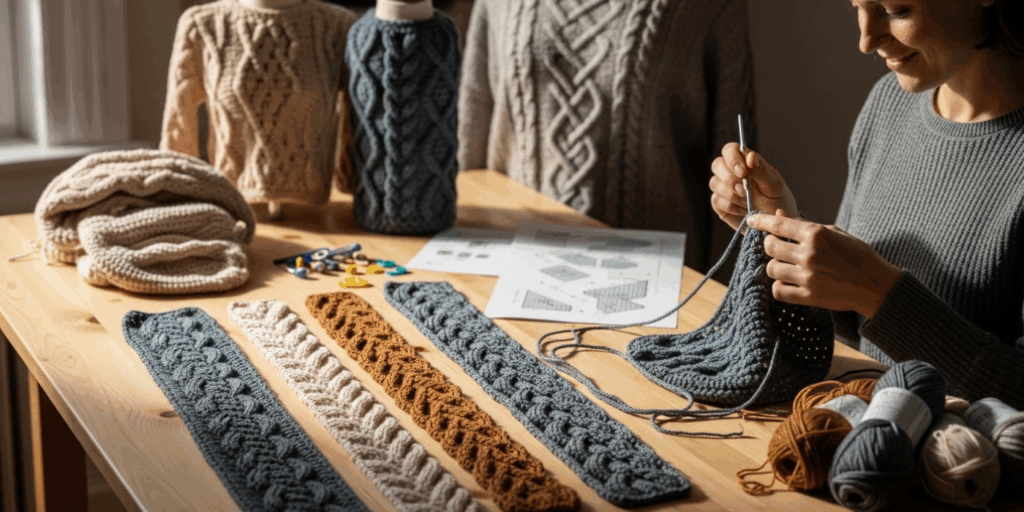
Simple Cable Patterns to Start With (And Where to Use Them)
Ready to try it? Here are three beginner-friendly cable patterns you can master in an afternoon.
1. The Classic 4-Stitch Cable
Perfect for scarves, baby blankets, or pillow edges.
- Chain an even number of stitches (e.g., 20).
- Row 1: Work dc in each stitch.
- Row 2: Work 2 dc, skip 2, work 2 dc in next 2, then go back and work 2 dc in the skipped stitches. Repeat across.
- Row 3: Work dc in each stitch.
- Repeat Rows 2–3.
The twist appears every other row. It’s subtle, elegant, and instantly recognizable.
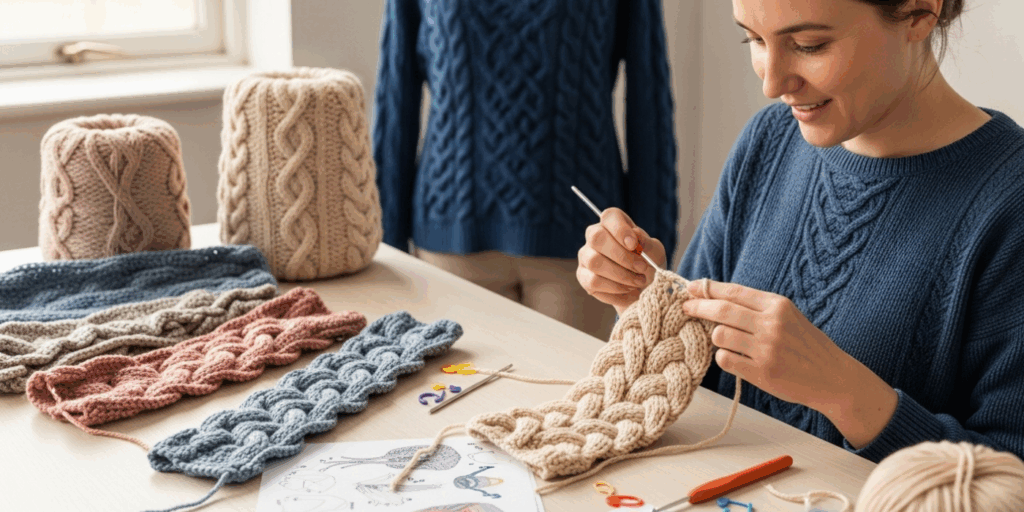
2. The Basketweave Cable
A more complex but stunning pattern that mimics woven baskets.
- Work in blocks: 4 dc, skip 4, 4 dc, skip 4…
- On the next row, reverse the pattern: skip 4, 4 dc, skip 4, 4 dc…
- Alternate every two rows.
This creates a checkerboard of raised and recessed squares. It’s ideal for afghans, tote bags, or even wall hangings.
3. The Twisted Rib
Great for hats, cuffs, or sweater edges.
- Work in rounds: Skip 1, dc in next 2, then dc in the skipped stitch. Repeat.
- This creates a spiraling, twisted rib that looks knitted but is 100% crochet.
Where to use them?
- Scarves: A single cable running down the center feels luxurious.
- Blankets: Alternate cable rows with smooth rows for rhythm.
- Hats: A cable band around the brim adds structure and style.
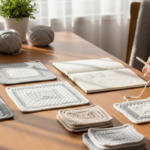
- Coasters or placemats: Small cable motifs make everyday items feel special.
Pro tip: Add a border of single crochet after your cable section to frame it and keep the edges neat.
Troubleshooting Common Cable Crochet Mistakes
Let’s be real—even the best crocheters hit snags. Here are the top 3 mistakes—and how to fix them fast.
❌ Mistake #1: My cable looks lumpy or uneven.
Fix: You’re probably pulling your yarn too tight when crossing stitches. Relax your grip. Let the yarn glide. If your stitches are too tight, the fabric will pucker. Try going up a hook size.
❌ Mistake #2: I lost count and my cable is off-center.
Fix: Use stitch markers religiously. Place one at the start and end of your cable panel. Count your stitches before you begin the cable, and again after. If you’re off by one stitch, don’t rip out the whole row—just adjust the next row to compensate. (Yes, you can cheat a little and still make it look intentional.)
❌ Mistake #3: The cable looks flat, like it’s not twisting.
Fix: You might be working the crossed stitches too close together. Try skipping three stitches instead of two for a 4-stitch cable. Give it more room to breathe. Also, block your finished piece. Wet-blocking (gently soaking and pinning it flat to dry) opens up the texture and makes those twists pop like they’re meant to.
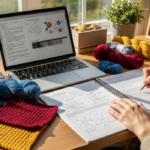
And if you’re still struggling? Watch a 5-minute YouTube tutorial. Seeing the motion helps more than any written description. Look for videos by “The Crochet Crowd” or “Moogly”—they break it down beautifully.
Remember: your first cable might not be perfect. And that’s okay. The beauty of handmade is in the human touch. Slight imperfections? They’re proof you made it with love.
Elevating Your Project: Cable Crochet in Real Life
Let’s talk about real-world applications. This isn’t just about making pretty things—it’s about making meaningful things.
Imagine gifting a cable crochet baby blanket to a new parent. The texture isn’t just decorative—it’s sensory. Babies love to touch, explore, and feel different surfaces. A cable blanket becomes a tool for development, a keepsake, a hug you can wrap around them.
Or picture a cable crochet shawl worn to a family dinner. The way the light catches the twists as you move? That’s quiet confidence. That’s saying, “I made this. And it matters.”
Cable crochet also thrives in slow living movements. In a world of fast fashion and disposable goods, creating something that takes hours—something that lasts—is a radical act of care. It’s mindfulness in motion. Each stitch is a breath. Each twist, a pause.
You can even blend cable crochet with other techniques. Try adding a cable panel to a granny square blanket. Or use cables to frame a lace motif. The possibilities? Endless.
And if you’re feeling bold? Try colorwork cables. Use two contrasting yarns. Work your cable in a darker shade, then switch to a lighter one for the background. The texture becomes even more dramatic.
One crocheter I know made a cable-stitched coat for her daughter’s wedding. She spent 8 months on it. When her daughter wore it, she whispered, “It feels like you stitched my childhood into every twist.” That’s the power of texture. It doesn’t just decorate. It remembers.
Your Turn: Start Small, Dream Big
You don’t need to make a cable sweater tomorrow. Start with a coaster. Or a bookmark. Or a simple headband.
Pick up your hook. Choose a smooth, medium-weight yarn. Chain 12. Work a 4-stitch cable repeat for 5 rows. Look at it. Feel it. Admire it.
Then do it again. And again.
Every expert was once a beginner who kept going.
Cable crochet isn’t about perfection. It’s about presence. It’s about turning a simple loop of yarn into something that tells a story—your story.
So the next time you pick up your hook, don’t just think: What am I making?
Think: What feeling am I creating?
Because that’s what makes handmade truly priceless.
Final Thoughts: The Art of Texture Is the Art of Connection
In a world that moves too fast, cable crochet invites us to slow down. To feel. To create something that doesn’t just look good—but feels good. To your eyes. To your hands. To the person who receives it.
Whether you’re making a gift, a keepsake, or just something for yourself, every cable you twist is a quiet act of love.
So go ahead. Try that first cable. Mess it up. Fix it. Try again.
And when you finish your first piece? Take a photo. Post it. Tag someone who needs to see it.
Because someone out there is waiting for a texture that speaks to them.
And guess what?
You’re the one who can make it.
What’s your first cable crochet project going to be?
Drop a comment below—I’d love to hear your idea! And if this guide helped you take your crochet to the next level, share it with a friend who needs a little more texture in their life. 🧶💛

Luiza Santos is a passionate crochet and knitting enthusiast who finds joy in transforming simple yarn into meaningful, handmade creations. With a deep love for texture, color, and craftsmanship, she believes every stitch carries a story. Luiza brings warmth, creativity, and years of hands-on experience to everything she makes, inspiring others to discover the beauty of fiber arts.