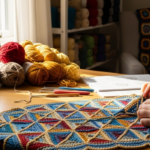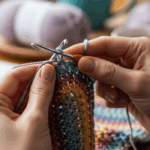
Imagine finishing your very first crochet blanket—soft, colorful, and full of love—only to notice the seams look bumpy, uneven, or worse… like they were stitched together by a confused squirrel. You’ve poured hours into this project. You chose every yarn color with care. You crocheted each square with patience. But now, the finishing touches are stealing the spotlight… and not in a good way.
Here’s the truth: how you finish your crochet work matters just as much as how you made it.
Many crocheters focus so hard on the main pieces—the granny squares, the amigurumi bodies, the lace edgings—that they treat the joins and ends as an afterthought. But here’s the magic secret: invisible joins and seamless finishes turn good projects into gallery-worthy masterpieces.
In this guide, we’ll walk you through the art of making your crochet work look professionally finished—not because you hired an expert, but because you learned the tricks the pros use. We’ll cover the most frustrating join mistakes, the three most reliable invisible sewing methods, how to weave in ends so they vanish, and why your finished pieces deserve this level of care. Plus, you’ll get simple, step-by-step tips you can use today—even if you’re still learning your single crochets from your double crochets.
By the end, you won’t just know how to hide your seams—you’ll feel proud to show them off.
Why Invisible Joins Are the Secret Weapon of Pro Crocheters
Let’s be honest: if you’ve ever looked at a handmade blanket and thought, “I wish mine looked like that,” the difference probably wasn’t the stitches—it was the finishing.
Professional crocheters don’t just stitch pieces together. They integrate them. They make the joins disappear so your eye travels smoothly across the whole piece—no bumps, no lumps, no “oh, that’s where they glued it on.”
Think of it like painting a mural. You wouldn’t slap five separate canvases side by side and call it art. You’d blend the edges, match the colors, soften the transitions. That’s exactly what invisible joins do for your crochet.
The most common mistake? Using a simple slip stitch or chain join that leaves a visible ridge. Or worse—leaving long tails sticking out like flags. These aren’t just ugly—they can snag, pill, or even unravel over time.
Here’s the good news: you don’t need fancy tools or advanced skills to fix this. You just need to understand how to match your stitch pattern and use the right technique for the right moment.
For example, if you’re joining granny squares, a slip stitch join might seem fast—but it creates a bumpy, raised seam. Instead, try the invisible join (more on that in a bit), where you weave the yarn through the top loops of each square, mimicking the natural flow of your stitches. The result? A flat, seamless surface that looks like one continuous piece.
And here’s the real kicker: when your joins are invisible, people won’t even notice you did them. They’ll just say, “Wow, this is so professional!” And you’ll know the truth—you didn’t need to be a pro. You just needed to know the right trick.
This isn’t just about aesthetics. It’s about durability. A poorly joined seam can come undone with washing, stretching, or even just daily use. Invisible finishes hold stronger because they’re integrated into the fabric—not sitting on top of it.
So next time you think, “I’ll just whip this together,” pause. Take a breath. Ask yourself: Would I want this on a gift for someone I love? If the answer is yes, then it’s worth doing right.
The Three Invisible Join Methods You Need to Know (No More Bumpy Seams!)
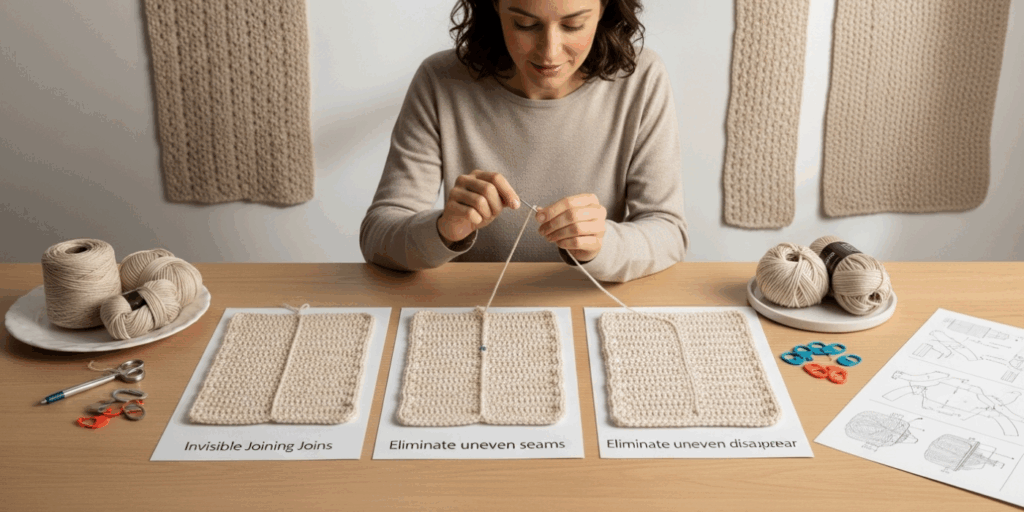
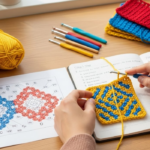
Not all joins are created equal. And not all yarns behave the same. So let’s break down the three most effective, beginner-friendly methods for making your crochet pieces look like they were knit as one.
1. The Slip Stitch Join (For Fast, Flat Seams)
Best for: Granny squares, motifs, and projects where you want a subtle ridge.
This is the go-to for many crocheters because it’s quick. But here’s the pro tip: don’t just slip stitch through both loops. Instead, insert your hook under the front loop only of each piece, then slip stitch. This keeps the seam flatter and less bulky.
Pro move: After each slip stitch, gently pull the yarn snug—not tight—so the seam lies flat. Then, weave in the end along the seam line to lock it in.
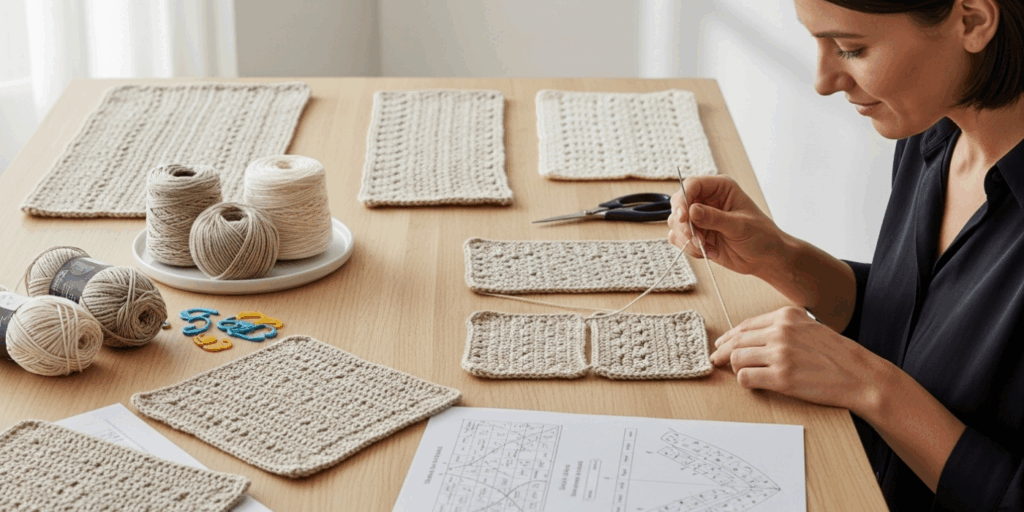
2. The Invisible Seam (Also Called the Mattress Stitch)
Best for: Joining rectangles, squares, or any flat pieces where you want zero visible seam.
This is the gold standard. You’ll use a yarn needle to weave the yarn through the vertical bars between stitches on each side—mimicking the natural structure of your crochet.
Here’s how:
- Lay your two pieces side by side, right sides facing up.
- Thread a yarn needle with the tail from one piece.
- Insert the needle under the vertical bar between the first two stitches on the left piece.
- Then, insert it under the same bar on the right piece.
- Repeat, alternating sides, pulling gently after each stitch.
The magic? The seam disappears into the fabric. No ridge. No bulk. Just smooth continuity.
Bonus: This method works beautifully with cotton or wool yarns. It’s less ideal for slippery acrylics, but still doable with a bit more patience.
3. The Single Crochet Join (For Textured, Flexible Edges)
Best for: Joining rounds, circular pieces, or when you want a bit of stretch.
If you’re joining a shawl’s border or the edges of a hooded sweater, a single crochet join adds flexibility while keeping things neat. Work one single crochet into each stitch along both edges, matching your stitch count exactly.
To make it invisible:
- Use the same yarn color.
- Work tightly enough to pull the seam flat.
- After finishing, gently steam block the seam (more on that later!) to melt any slight bumps.
Remember: The key to invisibility isn’t speed—it’s precision. Take your time. Watch how the stitches line up. Your future self will thank you.
Weaving in Ends Like a Pro (Say Goodbye to Yarn Tails!)
You’ve joined your pieces. The seams look flawless. But now… there are endless tails sticking out like unraveled threads from a sweater you forgot to mend.
This is the silent killer of handmade beauty.
Every crochet project leaves tails—some from starting a new ball, others from changing colors, others from finishing a round. And if you just tie them off and leave them? They’ll poke out after washing. They’ll catch on your jewelry. They’ll make your blanket look messy—even if the rest is perfect.
Here’s the fix: weave in ends the right way.
Don’t just poke the tail through a few stitches and cut it. That’s a recipe for disaster.
Instead, follow this foolproof method:
- Use a yarn needle (the kind with a large eye and blunt tip).
- Weave in the tail in two directions. Go back through 3–4 stitches in one direction, then turn and weave back in the opposite direction. This locks the end in place.
- Weave along the seam line if possible—this hides it in plain sight.
- Trim only after you’re sure it’s secure. Pull gently on the tail—if it moves, weave it more.
- For color changes in stripes, weave the ends into the same color section. Never weave a red tail into a blue area—it’ll show.
Pro tip: If you’re working with a very thick yarn, split the tail into two thinner strands before weaving. It blends better and won’t create lumps.
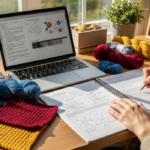
And here’s something most tutorials skip: weave in ends as you go. Yes—you can do it while you’re crocheting! After you finish a color change, take 30 seconds to weave the tail into the back of your work. It saves you hours at the end.
Imagine finishing your project and having zero tails to deal with. No frantic weaving at midnight. No frayed ends popping out when you gift it. That’s the power of small, consistent habits.
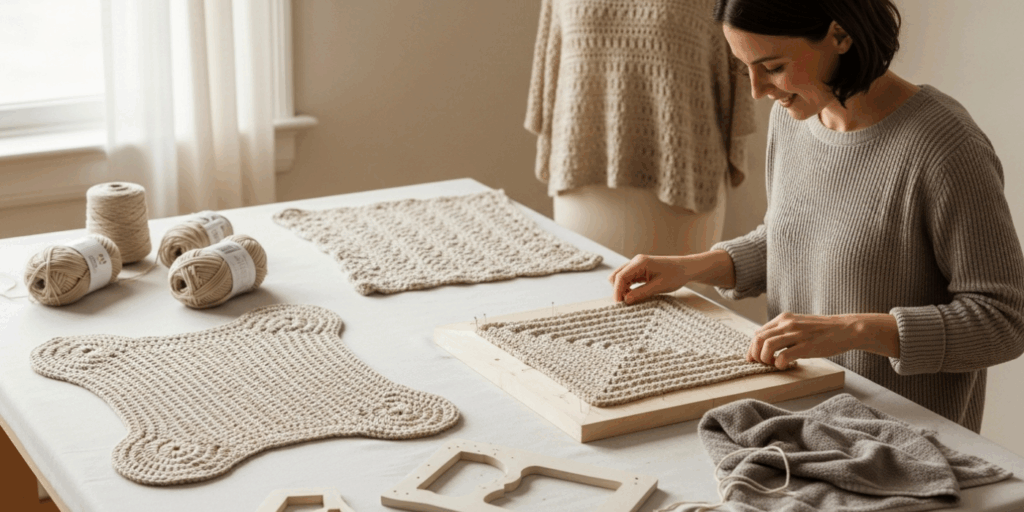
The Magic of Blocking: Turning Good Into Gorgeous
You’ve sewn your seams. You’ve tucked away every tail. But your blanket still looks a little… off. The corners curl. The squares aren’t quite square. The edges wobble.
Enter: blocking.
Blocking isn’t just for knitters. It’s the secret weapon of every serious crocheter.
Blocking is simply shaping your finished piece by wetting, steaming, or spritzing it—and letting it dry in the perfect shape.
Think of it like ironing a shirt. You don’t just throw it on. You smooth it out, pin it, and let it set. Same with crochet.
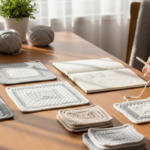
Here’s how to block your work:
- Soak your piece in lukewarm water with a drop of gentle soap (optional).
- Gently squeeze out water—never wring! Lay it flat on a towel and roll it up to absorb moisture.
- Lay it on a blocking mat (or a clean towel on the floor).
- Pin the edges with T-pins or rust-proof pins to stretch it into shape.
- Let it dry completely—this can take 24–48 hours.
For lace shawls, you might stretch the edges into a perfect circle. For blankets, you’ll square up the corners. For amigurumi, you’ll fluff and round the shapes.
The result? Your joins look smoother, your stitches look more even, and your whole piece looks like it came from a boutique—not your couch.
And here’s the best part: blocking makes invisible joins look even more invisible. It flattens seams, softens yarn, and gives your work that “handmade but store-bought” glow.
You don’t need fancy tools. A towel, some pins, and patience are all you need.
Why This Matters: More Than Just Looks
Let’s pause for a moment.
Why does any of this matter?
Because handmade things carry meaning. When you give someone a crochet blanket, you’re not just giving them warmth. You’re giving them time. Care. Thoughtfulness.
A lumpy, poorly finished blanket says, “I rushed.”
A seamless, beautifully finished blanket says, “I made this for you—with love.”
Think about the last gift you received that felt truly special. Chances are, it wasn’t the price tag. It was the attention to detail.
That’s what invisible finishes do. They honor the time you spent. They honor the person receiving it. They turn your craft into a legacy.
And here’s the beautiful truth: you don’t have to be perfect to create something perfect.
You just have to care enough to try.
Every pro crocheter started where you are now. They made messy seams. They left tails hanging. They got frustrated. But they kept learning. And now? They make magic look easy.
You can too.
Final Tips: Your Invisible Finish Checklist
Before you cut your last yarn tail, ask yourself these five questions:
✅ Did I use the right join method for my project?
✅ Did I weave in every single end—twice?
✅ Did I block my piece to smooth out any puckers?
✅ Did I check for loose stitches or gaps along the seams?
✅ Does it feel soft, flat, and cohesive when I run my hand over it?
If you answered yes to all five, congratulations—you’ve just leveled up.
You’re not just a crocheter anymore.
You’re a creator who knows the difference between done and delightful.
Your Turn: Make It Beautiful
Now that you know the secrets, it’s time to put them into practice.
Grab your next project—the one you’ve been putting off because the seams feel overwhelming. Pick one square. Join it invisibly. Weave in the ends. Block it.
See the difference.
Then do it again.
Each time you do, you’ll feel more confident. More proud. More connected to your craft.
And when someone asks, “Did you make this?”—you won’t just say yes.
You’ll smile, because you know the truth:
You didn’t just make it. You made it unforgettable.
Have you tried invisible joins before? What was your biggest struggle? Share your story in the comments below—I’d love to hear how you’re transforming your crochet from “good” to “gorgeous.” And if this helped you, please share it with a fellow crocheter who needs to see this. Because every invisible seam starts with one person deciding to care a little more.
Happy crocheting. Your masterpiece is waiting.

Luiza Santos is a passionate crochet and knitting enthusiast who finds joy in transforming simple yarn into meaningful, handmade creations. With a deep love for texture, color, and craftsmanship, she believes every stitch carries a story. Luiza brings warmth, creativity, and years of hands-on experience to everything she makes, inspiring others to discover the beauty of fiber arts.