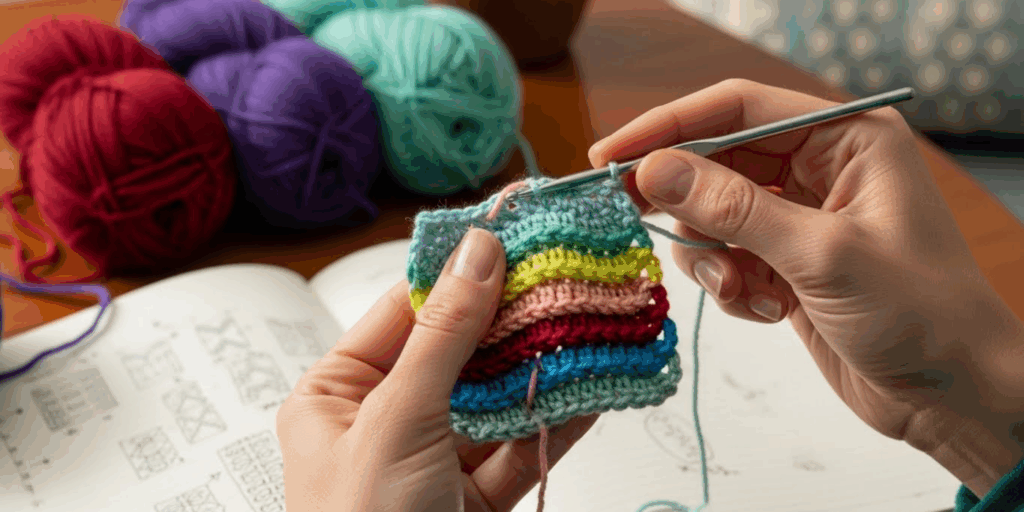
Imagine turning a simple, solid-colored blanket into a vibrant tapestry of texture and dimension—without starting from scratch. That’s the magic of overlay crochet. This transformative technique allows you to “paint” with yarn directly onto an existing fabric, adding intricate motifs, bold color pops, or soft sculptural details that elevate your projects from basic to breathtaking.
Whether you’re a seasoned crocheter looking to expand your creative toolkit or a beginner eager to personalize handmade gifts, overlay crochet offers an accessible and deeply satisfying way to add artistry to your work. Unlike traditional methods that require complex stitch patterns from the start, overlay crochet lets you build beauty on top of what you already have.
In this article, you’ll discover what overlay crochet really is, why it’s become a favorite among fiber artists, and—most importantly—how you can use it to breathe new life into scarves, blankets, garments, and home décor. We’ll walk through essential tools, beginner-friendly techniques, inspiring project ideas, and practical tips to avoid common pitfalls. By the end, you’ll be ready to grab your hook, choose a few skeins of contrasting yarn, and start layering your way to stunning results.
So, if you’ve ever looked at a finished piece and thought, “It’s nice… but it needs something more,” get ready—overlay crochet might just be the “more” you’ve been searching for.
What Is Overlay Crochet? Understanding the Basics
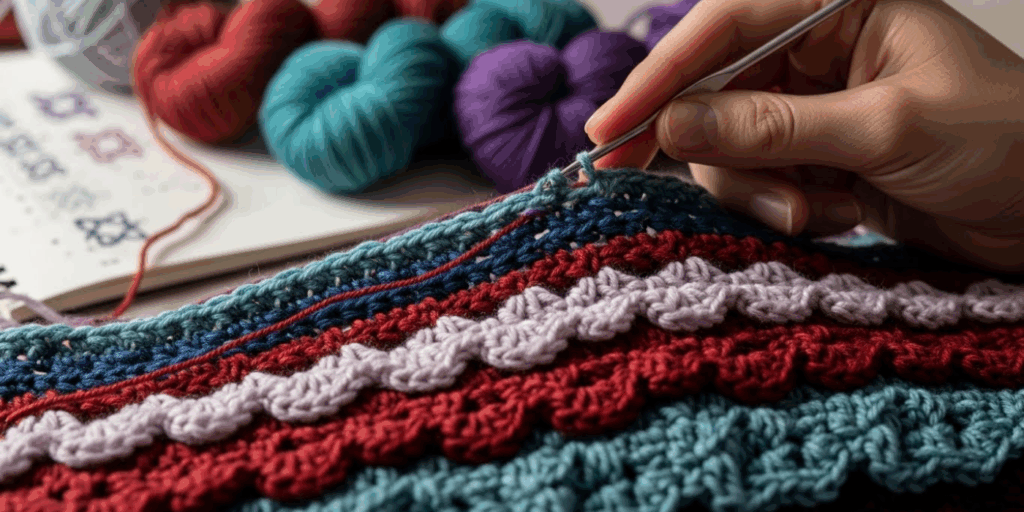
At its core, overlay crochet is a surface crochet technique where you work stitches on top of a pre-made crocheted (or sometimes knitted) fabric to create raised designs, color blocks, or textured patterns. Think of it like embroidery—but using crochet stitches instead of thread.
Unlike traditional crochet, where every stitch builds the foundation fabric from the ground up, overlay crochet assumes the base already exists. You’re essentially “drawing” or “sculpting” onto it using slip stitches, single crochets, puff stitches, or even popcorn stitches in contrasting or complementary yarns.
This method gained popularity through designers like Melody MacDuffee, who pioneered modern overlay crochet in the early 2000s with her stunning 3D floral afghans. Her work showed how simple stitches, when layered strategically, could mimic lace, petals, feathers, or geometric art—adding depth without bulk.
Why it matters: Overlay crochet is incredibly versatile. You can use it to
- Fix a “boring” project without unraveling it,
- Personalize a baby blanket with a name or animal motif,
- Add subtle texture to a neutral sweater,
- Or create gallery-worthy wall art from a basic mesh base.
Best of all? You don’t need advanced skills to start. If you can make a slip stitch and hold tension, you’re already halfway there.
Why Choose Overlay Crochet? Benefits Beyond Beauty
While the visual appeal is obvious, overlay crochet offers practical advantages that go far beyond aesthetics.
First, it’s a sustainability champion. Rather than discarding a project that feels “unfinished” or too plain, you can revive it with a few hours of surface work. This aligns perfectly with the growing slow-craft movement, where makers prioritize reducing waste and maximizing the life of handmade items.
Second, it’s forgiving and low-risk. Since you’re working on top of a stable base, there’s no need to worry about gauge, tension, or counting rows. Mistakes are easy to undo—just snip the overlay yarn (not the base!) and rework the section.
Third, it’s an excellent gateway to colorwork. Many crocheters avoid stranded color or intarsia due to complexity or tangled yarns. With overlay, you only carry one color at a time, eliminating floats and simplifying tension control.
Real-life example: A crocheter on Reddit shared how she transformed a plain gray market bag into a boho-chic tote by overlaying sunbursts in gold and terracotta yarn. The project took under two hours—and got dozens of compliments at the farmers’ market!
Moreover, overlay crochet is highly adaptable. Want a minimalist look? Use tone-on-tone yarn and subtle stitches. Prefer bold drama? Go for chunky yarn and high-contrast colors. The technique bends to your vision—not the other way around.
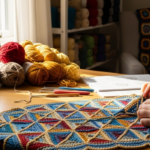
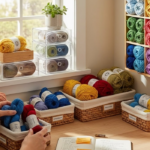
Getting Started: Essential Tools and Materials
The beauty of overlay crochet is its simplicity—you likely already own everything you need. Here’s a quick checklist:
- A finished base fabric: Ideally made with a firm, open stitch like single crochet, double crochet, or mesh. Avoid very dense or stretchy fabrics (like ribbing), as they make it hard to anchor overlay stitches.
- Contrasting yarn: Choose a weight equal to or slightly lighter than your base yarn. Bulky overlay on fine fabric can distort it; too-thin yarn may disappear visually.
- A crochet hook: Usually one or two sizes smaller than the hook used for the base. This helps keep overlay stitches snug and neat.
- Tapestry needle: For weaving in ends (which you’ll have more of, since you’ll cut yarn between motifs).
- Stitch markers (optional): Helpful for mapping out symmetrical designs.
Pro tip: Use smooth, non-splitting yarns like cotton, acrylic, or wool blends. Textured or slippery yarns (like mohair or silk) can be frustrating for beginners.
Before diving into a big project, practice on a swatch. Create a 6″ x 6″ square in single crochet, then try overlaying a simple shape—like a heart, star, or spiral. This builds confidence and helps you test color combinations without commitment.
Remember: The base doesn’t have to be perfect. Slight imperfections often disappear under layered texture—another bonus of this forgiving technique!
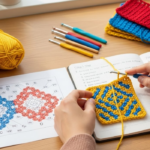
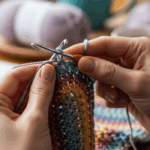
Easy Overlay Techniques to Try Today
Ready to stitch? Here are four beginner-friendly overlay methods that deliver maximum impact with minimal effort:
- Slip Stitch Overlay (Surface Slip Stitch)
The simplest and most invisible method. Use a tapestry needle or small hook to “draw” lines or shapes by catching the base fabric with slip stitches in a new color. Perfect for outlines, lettering, or delicate vines. - Single Crochet “Stippling”
Work single crochets directly into the base fabric at regular intervals to create dotted patterns, faux embroidery, or textured grids. Great for modern geometric designs. - Puff or Bobble Clusters
Create 3D “blooms” by working multiple yarn-overs into the same base stitch and securing them with a final pull-through. These add soft, tactile dimension—ideal for floral or abstract motifs. - Continuous Overlay Lace
Using a repeating pattern (like shells or fans), work a continuous row of stitches around the posts of the base stitches. This creates a lacy veil effect over solid fabric—stunning on shawls or table runners.
Beginner project idea: Take a plain beanie and add a row of puff stitches along the brim in a contrasting color. It takes 15 minutes and instantly upgrades the look.
Key reminder: Always keep your overlay stitches loose enough to avoid puckering the base fabric. If the base starts to ripple, your tension is too tight.
Common Mistakes (and How to Avoid Them)
Even simple techniques can trip you up if you’re not careful. Here are the top three overlay crochet pitfalls—and how to sidestep them:
- Mistake #1: Pulling stitches too tight
This distorts the base fabric, causing ripples or curls.
Fix: Work with relaxed hands and use a smaller hook to maintain control without tension. - Mistake #2: Using yarn that’s too thick or fuzzy
Bulky or halo yarns can overwhelm delicate designs or obscure stitch definition.
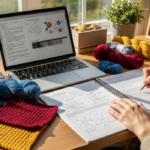
Fix: Stick to smooth, DK or worsted-weight yarns for your first few projects. - Mistake #3: Not planning your design
Jumping in without a sketch can lead to uneven spacing or awkward proportions.
Fix: Lightly mark your base with water-soluble fabric pen or use straight pins to map key points before stitching.
Analogy: Overlay crochet is like cooking with garnish. A sprig of parsley can elevate a dish—but dump the whole bunch on top, and you ruin the balance. Less is often more.
Also, don’t forget to secure your ends well. Since overlay yarn isn’t integrated into the fabric structure, loose tails can unravel with wear. Weave them through the back of the overlay stitches, not the base.
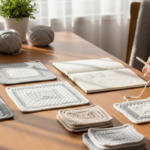
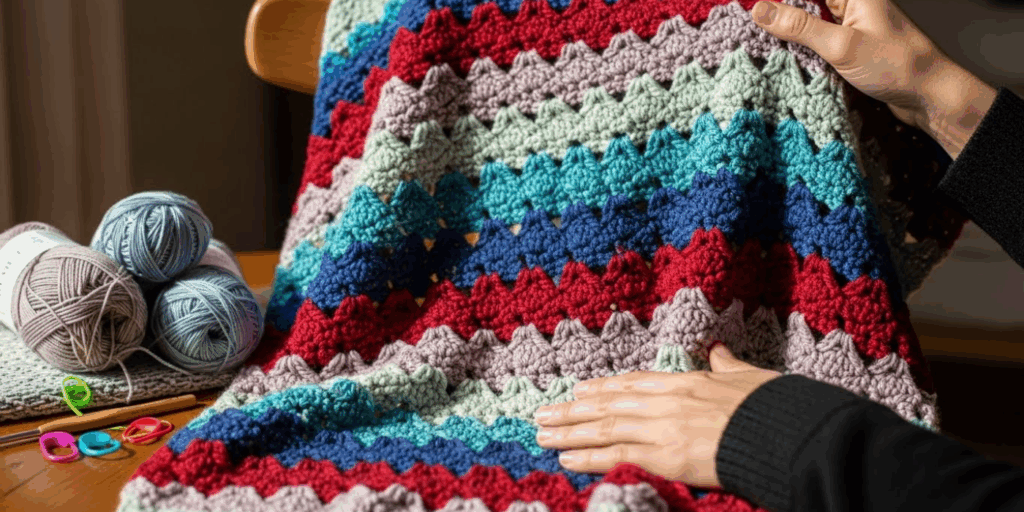
Project Ideas to Spark Your Creativity
Once you’ve mastered the basics, the possibilities are endless. Here are five inspiring ways to use overlay crochet:
- Personalized Baby Blankets
Add a child’s name, birth date, or animal silhouettes in soft pastels. The overlay won’t irritate sensitive skin if you keep stitches flat. - Boho Wall Hangings
Start with a neutral open-weave panel, then overlay mandalas, moons, or feathers in earthy tones and metallic threads. - Upcycled Sweaters
Breathe new life into an old knit or crochet sweater by adding floral vines along the neckline or geometric patterns on the sleeves. - Textured Table Runners
Use fine cotton yarn to overlay delicate lace motifs onto a plain runner—elegant for weddings or holidays. - Artistic Sampler Afghans
Divide a large blanket into squares, and use each to experiment with a different overlay technique. The result? A masterpiece that doubles as a skill journal.
Inspirational note: Many fiber artists now sell overlay crochet patterns on Etsy or Ravelry, but you don’t need a pattern to create. Nature, architecture, or even your doodles can be your guide.
Conclusion: Let Your Creativity Rise to the Surface
Overlay crochet is more than just a technique—it’s a mindset. It teaches us that imperfection can be a canvas, that simplicity can be enhanced (not replaced), and that beauty often lies in the layers.
In this article, we’ve explored how overlay crochet works, why it’s both practical and artistic, what tools you need, and how to avoid common beginner mistakes. Most importantly, we’ve seen that you don’t need years of experience to create something remarkable—just curiosity, a hook, and a willingness to play.
So, take that half-finished scarf in your stash. That plain pillow cover. That “meh” market bag. Look at them not as failures, but as blank slates waiting for your signature.
Now it’s your turn: What’s the first thing you’ll transform with overlay crochet?
Share your project ideas or finished pieces in the comments below—we’d love to see how you add color and texture to your world!
And if this inspired you, pass it on to a fellow maker who’s ready to take their craft to the next dimension. Happy stitching! 🪡✨

Luiza Santos is a passionate crochet and knitting enthusiast who finds joy in transforming simple yarn into meaningful, handmade creations. With a deep love for texture, color, and craftsmanship, she believes every stitch carries a story. Luiza brings warmth, creativity, and years of hands-on experience to everything she makes, inspiring others to discover the beauty of fiber arts.