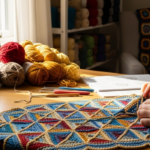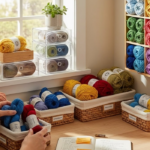
Introduction
Have you ever opened a crochet pattern only to find a mysterious chart full of symbols instead of words? You’re not alone. Many new crocheters feel instantly intimidated by crochet diagrams—those neatly arranged grids of tiny icons that look more like an architect’s blueprint than a cozy blanket pattern. But here’s the good news: crochet diagrams are actually one of the most helpful tools you can use, especially once you understand how they work.
Unlike written instructions, which can vary by region or language, crochet diagrams are universal. They use standardized symbols recognized worldwide, making them perfect for tackling international patterns or avoiding translation confusion. Plus, visual learners often find diagrams far easier to follow than paragraphs of text.
In this guide, you’ll learn how to read crochet diagrams step by step—from understanding basic symbols to navigating repeats, rounds, and even color changes. Whether you’re making a simple scarf or a complex doily, this skill will boost your confidence and open up a whole new world of crochet patterns. Let’s unravel the mystery together!
Why Crochet Diagrams Are Worth Learning
Before diving into the “how,” let’s talk about the “why.” Many beginners stick strictly to written patterns, assuming diagrams are only for advanced crafters. But that’s a myth. In fact, diagrams can make your crocheting easier, faster, and more accurate—especially with lace, motifs, or geometric designs.
Think of a diagram as a map of your project. Instead of imagining how stitches connect based on words like “skip 2, dc in next,” you can see exactly where each stitch goes. This reduces mistakes and helps you spot errors early. Diagrams also eliminate confusion caused by regional terms (like “double crochet” meaning different things in the U.S. vs. U.K.).
Moreover, many stunning free patterns—especially from Europe and Japan—are only available as diagrams. By learning to read them, you gain access to thousands of beautiful, unique designs you’d otherwise miss.
So even if you love written instructions, adding diagrams to your toolkit is like giving yourself a superpower. And the best part? It’s simpler than it looks.
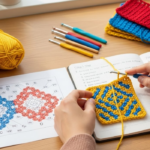
Understanding the Basic Crochet Symbols
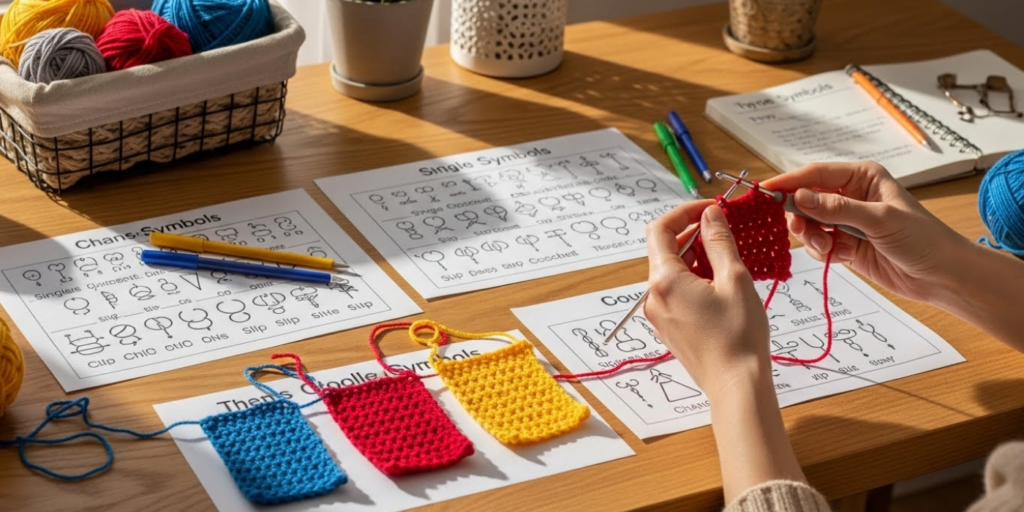
Every crochet diagram is built from a set of standardized symbols, most of which are maintained by the Craft Yarn Council. These symbols are intuitive once you know what they represent.
Here are the most common ones you’ll see:
- Chain (ch): A small oval or circle.
- Slip stitch (sl st): A filled-in dot or a tiny arrow.
- Single crochet (sc): A cross or plus sign (+).
- Half double crochet (hdc): A “T” shape with a horizontal bar on top.
- Double crochet (dc): A “T” with two horizontal bars.
- Treble crochet (tr): A “T” with three horizontal bars.
- Magic ring or starting ring: A circle, often with stitches radiating from it (used for amigurumi or doilies).
Tip: Print a free crochet symbol chart (easily found online) and keep it in your project bag. You’ll reference it often at first—and soon, you won’t need it at all.
Remember: the height of the symbol usually matches the height of the stitch. A dc symbol is taller than an sc, just like the actual stitch.
Also, direction matters. In most diagrams:
- Rows worked back and forth are shown with alternating directions (right to left, then left to right).
- Rounds worked in the round are shown as concentric circles or spirals, always moving counter-clockwise.
Don’t worry if it feels overwhelming now. With a little practice, these symbols will become as familiar as the alphabet.
How to Follow Rows and Rounds
Once you know the symbols, the next step is understanding how to move through the diagram.
Working in Rows (Flat Projects)
If you’re making a scarf, blanket, or dishcloth, you’re likely working in rows. In diagrams:
- Odd-numbered rows (right side) are usually read from right to left.
- Even-numbered rows (wrong side) are read from left to right.
Arrows often indicate direction. Some diagrams include row numbers on the side, so you always know where you are.
Example: Imagine a simple 6-stitch repeat:
Row 1: ch 1, sc in each st across.
In diagram form, you’d see a row of 6 “+” symbols, starting from the right.
Working in the Round (Hats, Amigurumi, Doilies)
For circular projects, diagrams start in the center and move outward. Each round is labeled (Round 1, Round 2, etc.), and you always crochet counter-clockwise.
Key tip: The first round often begins with a magic ring or a small circle, with stitches attached to it. Joining is usually shown with a small arc or a slip stitch symbol at the end of the round.
Pro tip: Use stitch markers to mark the beginning of each round. This helps you stay aligned with the diagram, especially when repeats get complex.
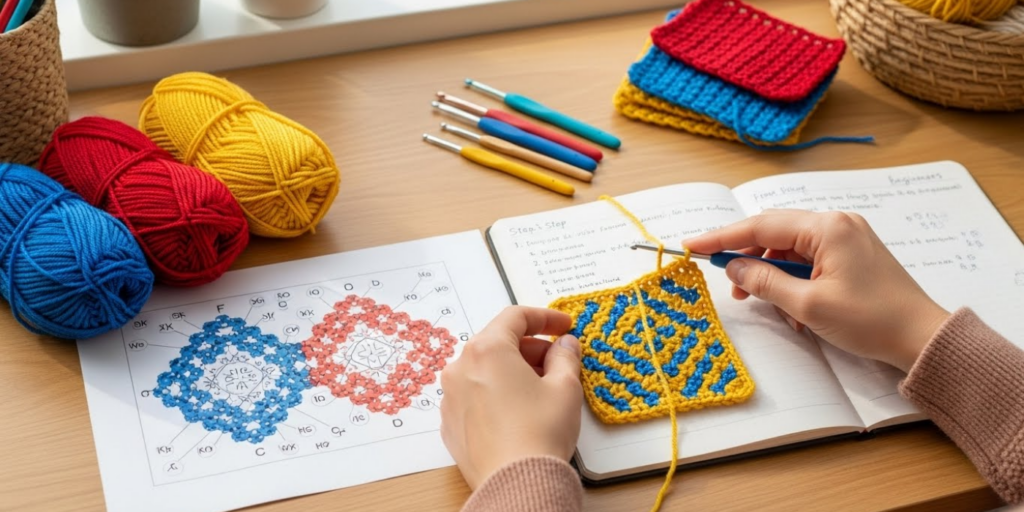
Decoding Repeats, Brackets, and Special Notations
Real-world diagrams often include repeats to save space and reduce clutter. These are usually marked with dashed or bracketed lines.
- A horizontal bracket over several stitches means “repeat this sequence across the row.”
- A vertical bracket might indicate a section to repeat for multiple rounds.
- Sometimes, a small number like “(x4)” appears near a bracket—this tells you how many times to repeat.
Example: A lace shawl diagram might show 4 stitches inside a dashed box, with “(x8)” next to it. That means: repeat those 4 stitches 8 times across the row (32 stitches total).
You might also see:
- Arrows indicating where to attach or join (common in granny squares).
- Dotted lines showing where to work into previous rows (like in filet crochet).
- Color blocks in multi-color patterns (common in tapestry crochet).
Don’t panic! Most patterns include a key or legend explaining any non-standard symbols. Always check it first.
Putting It All Together: A Step-by-Step Practice Example
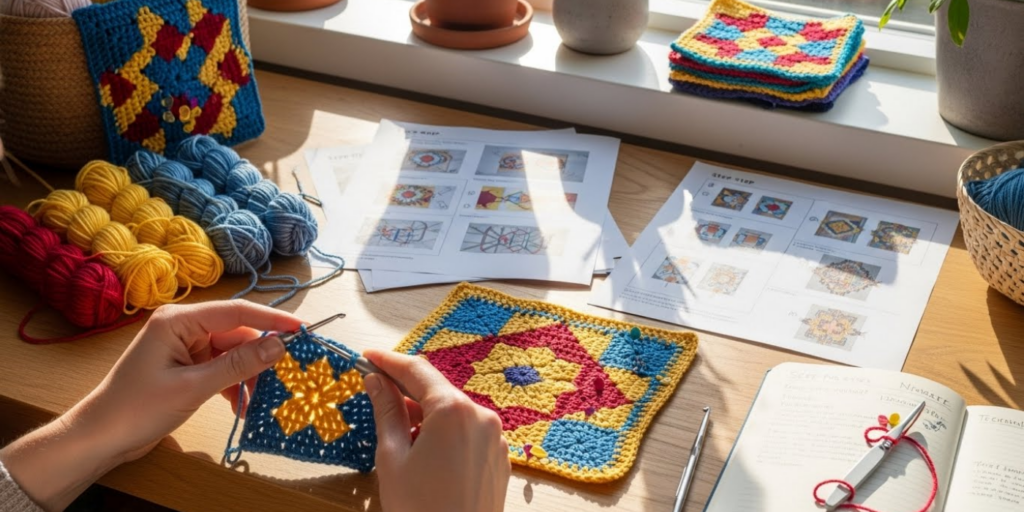
Let’s walk through a simple diagram to see how everything fits.
Project: A small crochet square (great for practice or a coaster).
Diagram shows:
- Round 1: A circle (magic ring) with 8 sc around it (8 “+” symbols in a ring).
- Round 2: Each sc from Round 1 has 2 sc worked into it, shown as 16 “+” symbols in a larger ring, with lines connecting them to the first round.
- Round 3: Alternating sc and ch-1 spaces, shown as “+” and small ovals in a repeating pattern.
How to crochet it:
- Make a magic ring.
- Work 8 sc into the ring. Join with a sl st. (Round 1)
- In Round 2, work 2 sc into each sc around (16 total). Join.
- In Round 3, sc in next st, ch 1, skip next st—repeat around.
See how the diagram visually mirrors what your hook is doing? You can literally trace your progress with your finger.
Try it yourself! Grab some yarn and a hook, and follow the diagram slowly. It’s okay to go back and forth between the visual and your work. With each round, it’ll feel more natural.
Common Mistakes (and How to Avoid Them)
Even experienced crocheters make diagram-related errors. Here are the most common—and how to sidestep them:
- Reading in the wrong direction
→ Always check arrows or row numbers. When in doubt, look at the symbol orientation—stitches usually “lean” in the direction of work. - Miscounting repeats
→ Use stitch markers to mark the beginning and end of each repeat section. Count as you go. - Ignoring the legend
→ Some designers use custom symbols (e.g., for popcorn stitches or clusters). The legend explains them—don’t skip it! - Assuming all diagrams are the same
→ While most follow Craft Yarn Council standards, some Japanese or European patterns use slight variations. Check the source and look for notes. - Rushing through the first round
→ The foundation round sets everything up. Take your time to place stitches correctly—especially in the magic ring.
Remember: mistakes are part of learning. If your piece looks off, compare it to the diagram section by section. You’ll often spot the error quickly.
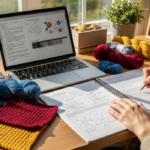
Tips for Building Your Diagram-Reading Confidence
Ready to go beyond the basics? Here’s how to grow your skills:
✅ Start small: Practice with simple squares, coasters, or granny squares before tackling lace shawls.
✅ Use highlighters: Print the diagram and highlight the row you’re working on.
✅ Watch video tutorials: Many YouTubers walk through diagram-based patterns—seeing it in action helps!
✅ Try free diagram-only patterns: Sites like Ravelry and LoveCrafts offer thousands. Filter by “chart only.”
✅ Keep a diagram journal: Sketch your own simple patterns as you learn. It reinforces symbol recognition.
Also, don’t feel you have to choose between written and diagram patterns. Many designers include both! Use them together: read the written instructions for clarity, then refer to the diagram for spatial understanding.
Over time, you’ll find yourself preferring diagrams for complex textures and written patterns for simple garments—or vice versa. And that’s perfectly okay!
Conclusion
Learning to read crochet diagrams might feel challenging at first, but with patience and practice, it quickly becomes second nature. Not only do diagrams help you avoid mistakes, but they also unlock a global library of stunning patterns that words alone can’t convey. Think of each symbol as a tiny building block—and together, they create something beautiful, stitch by stitch.
You don’t need to master everything overnight. Start with one symbol, then one row, then one round. Before you know it, you’ll be flipping through international pattern books with confidence, creating heirloom pieces from diagrams that once seemed like hieroglyphics.
So grab your hook, find a simple diagram-based pattern, and give it a try. Your next favorite project might be waiting in a chart—not a paragraph.
Have you tried reading a crochet diagram before? Did it go smoothly, or did you hit a snag? Share your experience in the comments below! And if this guide helped you, please share it with a fellow crocheter who’s ready to level up their skills. Happy stitching!

Luiza Santos is a passionate crochet and knitting enthusiast who finds joy in transforming simple yarn into meaningful, handmade creations. With a deep love for texture, color, and craftsmanship, she believes every stitch carries a story. Luiza brings warmth, creativity, and years of hands-on experience to everything she makes, inspiring others to discover the beauty of fiber arts.