Imagine holding a skein of yarn that no one else in the world has—soft, vibrant, and utterly unique, spun from your own choices of color, mood, and creativity. Not something you bought online or found in a craft store, but something you made. That’s the magic of dyeing your own yarn. And yes—it’s easier than you think.
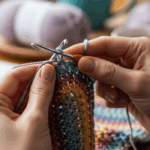
Whether you’re a knitter tired of the same store-bought palettes, a crocheter craving that perfect shade for your next blanket, or just someone who loves the idea of creating something beautiful from scratch, hand-dyeing yarn opens up a whole new world. It’s not just about color—it’s about expression. It’s about turning a simple ball of fiber into a personal masterpiece. And the best part? You don’t need a chemistry lab or a fancy studio. All you need is a pot, some heat, a little patience, and the courage to try.
In this guide, we’ll walk you through everything you need to know as a beginner to start dyeing your own custom yarn. We’ll cover the basics of fiber types, simple dyeing techniques you can do at home, how to avoid common mistakes, and even how to turn your hobby into a small creative business if you want to. By the end, you’ll not only feel confident enough to grab your first dye kit—but excited to start experimenting.
Let’s dive in.
Why Dyeing Your Own Yarn Changes Everything
Think about the last time you bought yarn. You scrolled through endless options—maybe you found one that was almost right. Too blue? Too muted? Too expensive? Or worse—you loved the color, but it was out of stock, and the next batch looked completely different.
That’s the problem with mass-produced yarn. Even if it’s labeled the same shade, dye lots vary. No two skeins are truly identical. And when you’re working on a big project—a sweater, a blanket, a gift—you don’t want to risk running out and having to match something that almost looks the same.
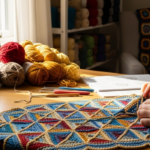
Hand-dyed yarn fixes that. When you dye your own, you control every detail. Want a gradient that shifts from deep plum to soft lavender? Done. Need a speckled yarn that looks like autumn leaves? Easy. Want to match your living room’s throw pillow? You can recreate it.
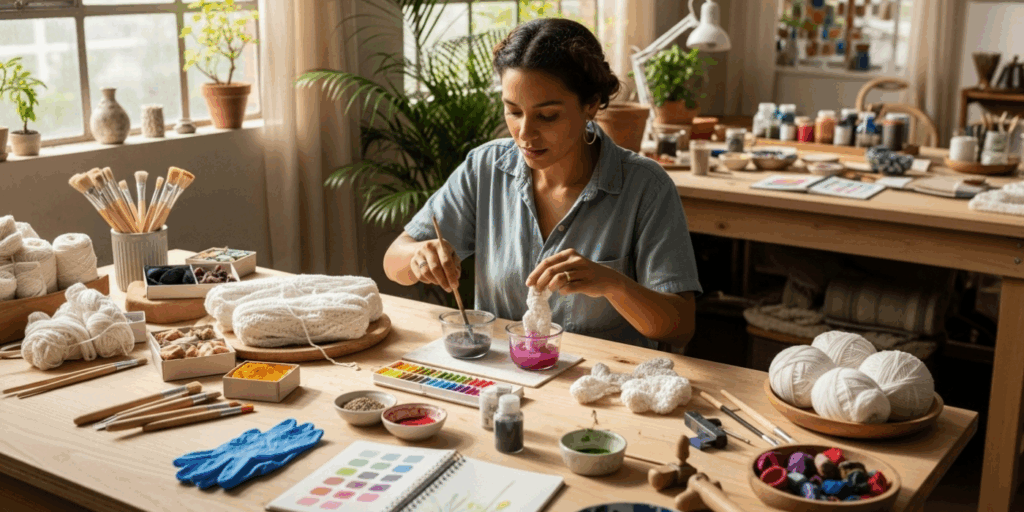
Plus, there’s something deeply satisfying about transforming plain white or natural fiber into a work of art. It’s like painting—but with yarn. And because you’re using natural dyes or high-quality fiber-reactive dyes, the colors often feel richer, more alive than anything you’ll find on a store shelf.
And here’s the secret: you don’t need to be an artist. You don’t need years of training. You just need to be curious.
Choosing the Right Fiber: Not All Yarn Is Created Equal
Before you start dyeing, you need to know what you’re dyeing. Not all yarn responds the same way to dye. Think of it like this: cotton is like a sponge, wool is like a velvet curtain, and acrylic is like plastic wrap. Each absorbs color differently.
For beginners, wool is your best friend. It’s protein-based, which means it bonds beautifully with acid dyes—the most popular and beginner-friendly type of dye. Wool takes color vibrantly, holds it well, and gives you that gorgeous, deep saturation you crave. Plus, it’s widely available in undyed (also called “natural” or “white”) form.
Silk is another fantastic option. It’s luxurious, shiny, and takes dye like a dream. If you want that shimmering, elegant look for scarves or shawls, silk is magic. But it’s pricier, so start with wool first.
Cotton, bamboo, and other plant-based fibers? They’re trickier. They need different dyes—fiber-reactive dyes like Procion MX—and often require more steps (like soaking in soda ash). For now, stick with animal fibers. Save cotton for when you’re ready to level up.
Avoid acrylic or polyester blends if you’re just starting. They’re synthetic and won’t absorb dye well. You might end up with patchy, uneven results—and that’s frustrating.
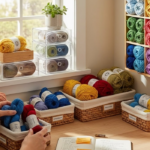
Pro tip: Look for “undyed” or “natural” wool yarn. Brands like Lana Grossa, Malabrigo, and Fiber Trends offer beautiful undyed bases. Or check out Etsy sellers who specialize in raw, unprocessed yarns.
And remember: the lighter the base color, the better. White, cream, or light gray will give you the most control. Dark bases limit your color options.
Your First Dye Kit: What You Actually Need (No Fancy Gear Required)
You don’t need to spend hundreds of dollars to start. In fact, you can begin with stuff you already have at home.
Here’s your simple starter kit:
- Undyed yarn (100% wool, 100–200 grams)
- Acid dyes (like Jacquard Acid Dyes or PRO Chemical & Dye) – these come in powder form and are super concentrated. A small set of 6 colors costs under $20.
- White vinegar or citric acid (to help the dye bond)
- A stainless steel pot (non-reactive—no aluminum or non-stick!)
- A long spoon or chopstick (for stirring)
- Rubber gloves (your hands will thank you)
- Plastic squeeze bottles or spray bottles (for applying dye in patterns)
- Plastic wrap or ziplock bags (for steaming or setting the dye)
- Old towels or a drying rack
That’s it. Seriously. You don’t need a dedicated dye station. Use your kitchen sink. Use your stovetop. Just clean everything well afterward.
Here’s how to make your first dye bath:
- Soak your yarn in warm water with a splash of vinegar (1 part vinegar to 4 parts water) for 20 minutes. This preps the fibers to grab the dye.
- Fill your pot with water—enough to let the yarn move freely. Heat it to just below boiling (around 180°F / 82°C).
- Dissolve your dye powder in a little hot water first—this avoids clumps.
- Pour the dye into the pot. Stir gently.
- Add your wet yarn. Let it simmer gently for 20–30 minutes, stirring occasionally.
- Turn off the heat. Let it cool. Rinse until the water runs clear. Hang to dry.
It’s that simple. The magic happens when you start experimenting with how you apply the dye. Squeeze bottles? Splatter it like Jackson Pollock. Dip-dye? Create ombré magic. Use rubber bands? Tie-dye your yarn like a pro.
One of my favorite beginner projects? The “rainbow speckle.” Just dip a toothbrush in diluted dye and flick it over your yarn. Instant confetti yarn. Perfect for socks.
Avoiding the Big Mistakes (And How to Fix Them)
Even the best beginners make mistakes. The good news? Most are easy to fix—and they teach you more than perfection ever could.
Mistake #1: Dyeing in a non-stainless steel pot.
If you use aluminum or non-stick, the dye can react and ruin your color—or even your pot. Always use stainless steel, enamel, or glass. It’s worth the $15 investment.
Mistake #2: Using too much dye.
More isn’t better. A little dye goes a long way. Start with 1–2 grams per 100g of yarn. You can always add more. Over-saturating leads to muddy, dull colors.
Mistake #3: Not wearing gloves.
Acid dyes aren’t toxic, but they stain skin. Seriously. I once dyed my thumb bright fuchsia—and it took three weeks to fade. Gloves are non-negotiable.
Mistake #4: Skipping the rinse.
If you don’t rinse thoroughly, excess dye will bleed onto your finished project. Rinse in cool water until it runs clear. Then wash gently with wool wash.
Mistake #5: Trying to dye too much at once.
Start with 100g. That’s one skein. Once you’ve mastered the process, then try two. Trying to dye 500g on your first try? That’s a recipe for chaos.
And if you mess up? Don’t panic. If your color is too dark? Try overdyeing with a lighter shade. If it’s too uneven? Embrace it! “Hand-dyed” doesn’t mean “perfectly uniform.” It means human-made. That’s the charm.
I once accidentally turned a skein of yarn into a muddy brown by mixing too many colors. Instead of tossing it, I used it for a cozy hat. Now it’s my favorite piece. Sometimes the “mistakes” become your signature.
Beyond the Basics: Creative Techniques to Try Next
Once you’ve nailed the basic immersion dye, it’s time to play.
Here are three fun, beginner-friendly techniques to explore:
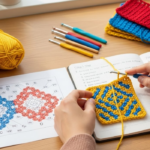
1. Speckle Dyeing
This is my go-to for sock yarn. Lay your skein flat on parchment paper. Use a dropper or small brush to dot tiny spots of dye all over. Let it sit for an hour, then steam it in a covered pot for 20 minutes. Boom—confetti yarn.
2. Gradient Dyeing (Ombré)
Fill a tall container with hot water and dye. Tie your yarn in a loose loop. Dip the bottom end first, then slowly lift it up over 10 minutes, letting the color fade as you go. It creates a beautiful fade from dark to light—perfect for shawls.
3. Self-Striping Yarn (Yes, You Can Do It!)
This one’s a little more advanced, but totally doable. Paint different colors onto different sections of your skein, then wind it into a ball in the same order. When you knit or crochet, the colors will naturally stripe. It’s like magic.
You can also try tea dyeing (for soft, vintage tones) or natural dyes like onion skins, beetroot, or avocado pits. They’re gentler on the environment and create earthy, organic hues.
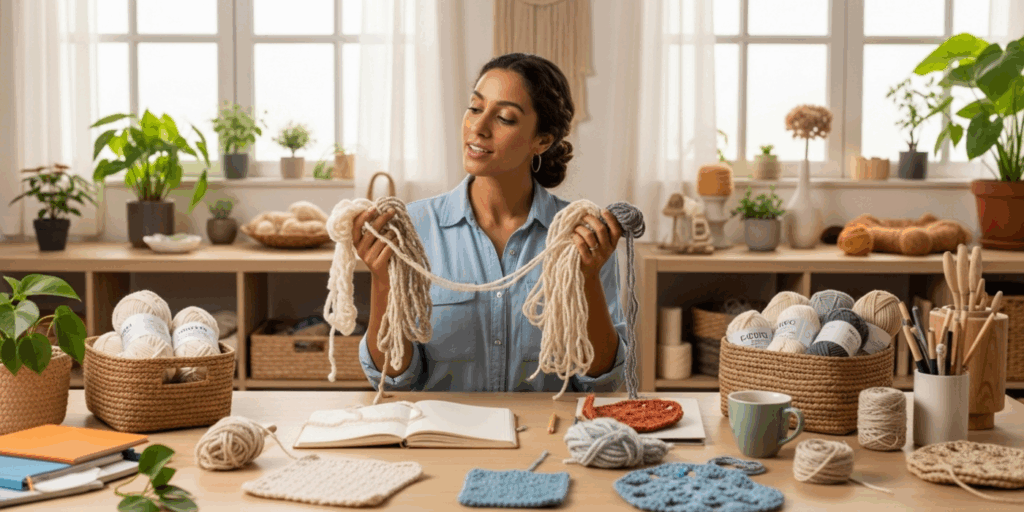
And here’s a pro tip: Keep a dye journal. Write down what you used, how much, and what the result looked like. That way, when you love a color combo, you can recreate it.
Turning Your Hobby Into Something More
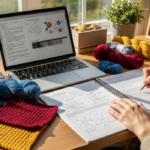
Here’s the beautiful truth: dyeing yarn isn’t just a craft—it’s a quiet form of self-care.
The process is slow. It requires focus. You’re not scrolling, you’re not multitasking. You’re standing over a pot, watching colors bloom, breathing in the steam, feeling the fibers soften under your fingers. It’s meditative.
And if you start to love it? You might just find yourself making more than you need.
That’s when things get exciting.
Many hand-dyers start by gifting their creations—socks for friends, scarves for family. Then someone says, “Where did you get that? I need one!” And suddenly, you’re selling at craft fairs or on Etsy.
You don’t need to be a business owner to enjoy this. But if you want to? The barriers are low. You can sell hand-dyed yarn for $20–$40 per skein. Compare that to $60+ for luxury hand-dyed brands. You’re not competing with them—you’re offering something just as special, but more personal.
Plus, you’re supporting sustainability. Hand-dyed yarn often uses less water and packaging than mass-produced yarn. And you’re choosing natural fibers over plastic-based synthetics.
This isn’t just about color. It’s about slowing down. Choosing quality. Making things with intention.
The Real Magic Isn’t in the Color—It’s in the Process
Let me tell you about my friend, Sarah. She started dyeing yarn after her mom passed away. She needed something to do with her hands that felt meaningful. She bought a $15 dye kit on Amazon. Her first skein was lopsided, uneven, and streaky. She cried a little.
But she kept going.
A year later, she was dyeing yarn for 20 customers a month. She named her brand after her mom’s favorite flower. Every skein she sold carried a little note: “Made with love, just like she taught me.”
That’s the power of hand-dyeing.
It’s not about perfection. It’s about presence.
It’s about taking something ordinary—plain white wool—and turning it into a story. A memory. A gift. A piece of your soul, spun into color.
You don’t need to be an expert. You don’t need a studio. You don’t even need a lot of time. Just 30 minutes, a pot of water, and the willingness to try.
So go ahead.
Grab that skein. Put on your gloves. Pour in the dye.
Watch the colors bloom.
And remember: the most beautiful yarns aren’t the ones that look perfect.
They’re the ones that were made with heart.
Ready to Start? Here’s Your First Step
Your first dyeing project doesn’t have to be complicated. Here’s what I want you to do before you close this page:
- Buy one 100g skein of undyed wool yarn (Amazon, Etsy, or your local yarn shop).
- Get a small set of acid dyes (try the Jacquard set—it’s affordable and beginner-friendly).
- Set aside one evening this week. Light a candle. Play your favorite music. Make tea.
- Dye it. Just one color. One technique. No pressure.
- Take a photo of your finished skein. Text it to a friend. Post it on Instagram. Say: “I made this.”
Because you did.
And that’s worth celebrating.
If you try it, I’d love to hear how it went. What color did you choose? Did you surprise yourself? Leave a comment below—I read every one. And if you found this guide helpful, share it with someone who loves to create.
The world doesn’t need more mass-produced yarn.
It needs more handmade magic.
And you? You’re the one who can make it.
Now go dye something beautiful.

Luiza Santos is a passionate crochet and knitting enthusiast who finds joy in transforming simple yarn into meaningful, handmade creations. With a deep love for texture, color, and craftsmanship, she believes every stitch carries a story. Luiza brings warmth, creativity, and years of hands-on experience to everything she makes, inspiring others to discover the beauty of fiber arts.