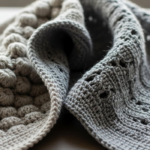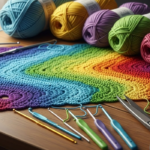
Ever finished a crochet project only to discover your edges look wavy, slanted, or uneven? You’re not alone—and more importantly, it’s not a reflection of your talent. Even seasoned crocheters once struggled with this exact issue.
Getting straight, clean edges in your crochet work is one of the most common challenges beginners face. But here’s the good news: uneven edges are almost always fixable with a few simple techniques and a bit of mindful practice. Whether you’re making a scarf, blanket, or granny square, neat edges make your project look polished, professional, and intentional.
In this guide, we’ll walk you through exactly why uneven edges happen and, more importantly, how to prevent them—starting with your first chain. You’ll learn foundational habits, stitch tricks, and pro-level tips that will transform your work from “homemade” to “handcrafted with confidence.”
Let’s turn those wobbly sides into crisp, beautiful lines—one row at a time.
1. Why Do Crochet Edges Get Uneven? Understanding the Root Causes
Before you can fix uneven edges, it helps to understand why they happen in the first place. Most beginners assume it’s about “bad tension” or “not being good enough,” but the truth is far more technical—and totally solvable.
The two main culprits are:
A. Inconsistent Stitch Counts
Every row must have the exact same number of stitches unless your pattern intentionally increases or decreases. If you accidentally skip a stitch, add an extra one, or miscount at the beginning or end of a row, your piece will lean, ripple, or pucker over time.
B. Turning Chain Confusion
The turning chain (the chain you make at the start of a new row to bring your hook up to the correct height) is often treated inconsistently. Some patterns count it as a stitch; others don’t. If you’re not following your pattern’s rule—or if you’re unsure—you’ll end up with too many or too few stitches, and your edges will suffer.
Example: In double crochet, a turning chain of 3 is common. If your pattern says it does count as the first stitch, you should not work a stitch into the first stitch of the row below. But if it doesn’t count, you must work into that first stitch. Mixing these up = uneven sides.
Why this matters: A single missed stitch per row might seem minor, but over 30 rows, that’s a 30-stitch difference—enough to warp your entire piece.
2. Master the Turning Chain: Your Secret Weapon for Straight Edges
The turning chain is where most edge issues begin. So let’s demystify it.
Step 1: Always Check the Pattern
Before you start, read the pattern notes carefully. Look for phrases like:
- “Ch 3 at beginning of row counts as first dc.”
- “Do not count turning chain as a stitch.”
If you’re working from a graph or making up your own design, choose one rule and stick to it consistently throughout the project.
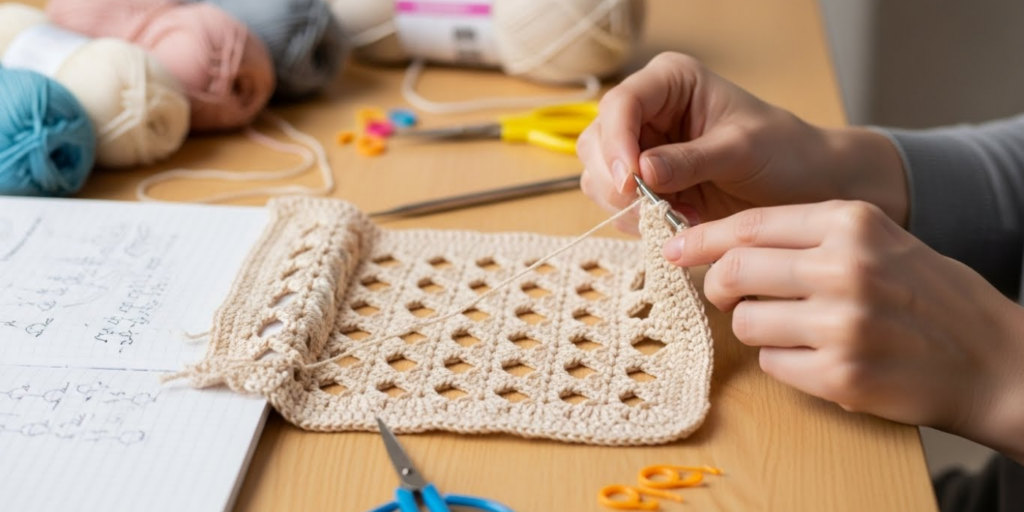
Step 2: Use Stitch Markers
Place a small stitch marker in the first stitch of every row (the one right after your turning chain). This helps you see exactly where your row begins—especially when your turning chain blends in with your real stitches.
Pro tip: Use a different-colored marker for the last stitch too. This “bookends” your row and makes counting foolproof.
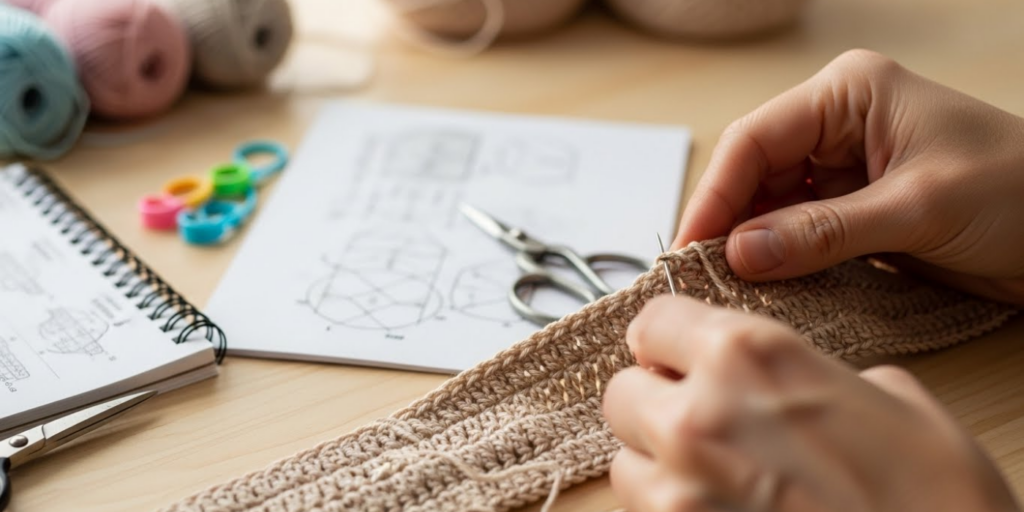
Step 3: Practice with a Swatch
Before starting a big project, crochet a 6″x6″ swatch using your chosen stitch and turning chain rule. Count your stitches every 5 rows. If your stitch count stays the same and your edges look straight, you’re ready to go.
Benefit: This 10-minute practice can save you hours of unraveling later.
3. Maintain Consistent Tension—Without Stressing Over It
Yes, tension matters—but not in the way most beginners think. You don’t need “perfect” tension. You need consistent tension.
What is tension?
Tension is how tightly or loosely you hold your yarn and pull your stitches. It affects stitch size, fabric drape, and edge alignment.
Common tension mistakes:
- Pulling too tight on the first/last stitch of a row → creates puckered or pinched edges.
- Loosening up in the middle → causes a “smiley face” curve.
- Gripping the hook too hard → leads to stiff, uneven fabric.
How to improve tension gently:
- Relax your hands. Shake them out every few minutes.
- Hold the yarn with your pinky and ring finger, letting it glide smoothly.
- Don’t force stitches. If a stitch feels tight, check your hook size—your yarn might need a larger hook.
- Crochet in good lighting. Straining your eyes creates physical tension.
Remember: Slight tension changes are normal. What matters is not letting tension shift drastically at the start or end of rows—that’s where edges go wonky.
4. Count Your Stitches—Every. Single. Row.
This sounds tedious, but it’s the #1 habit of crocheters with perfect edges.
Beginners often count stitches only at the end of a project—by then, it’s too late. Instead:
- Count after every row (or at least every 2–3 rows).
- Use a row counter (mechanical or app) to track progress.
- Say the numbers out loud as you count: “1, 2, 3…” — it helps focus your attention.
What to count:
- In rows where the turning chain does NOT count as a stitch: count every stitch, including the one at the very end.
- In rows where it DOES count: your last stitch should land in the top of the turning chain from the previous row.
Still unsure? Here’s a quick test:
If your left edge looks like a neat stair-step and your right edge is jagged, you’re likely missing the last stitch.
If your right edge is clean but your left side leans inward, you’re probably skipping the first stitch.
Fixing this alone can solve 80% of edge problems.
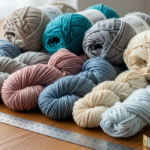
5. Choose the Right Hook and Yarn—And Stick With Them
Your tools matter more than you think.
Hook size:
Using a hook that’s too small for your yarn creates tight, stiff stitches that pull inward. Too large, and your fabric gets floppy and hard to control.
Tip: Check the yarn label for the recommended hook size. If you’re a tight crocheter, go up one size. If you’re loose, go down one.
Yarn texture:
Smooth, light-colored yarns (like cotton or acrylic) make it easier to see your stitches—ideal for beginners. Avoid dark, fuzzy, or novelty yarns until your edge technique is solid.
Consistency is key:
Don’t switch yarn brands or dye lots mid-project. Even slight differences in thickness can cause one side to stretch or shrink differently.
Bonus: Use the same hook throughout. Switching hooks (even same size, different brand) can subtly alter your tension.
6. Advanced Trick: The “No Turning Chain” Method
For ultra-crisp vertical edges, try working in the round or using joining techniques, or explore the “no turning chain” method:
Instead of chaining at the end of a row, you:
- Finish your last stitch.
- Turn your work immediately.
- Insert your hook into the very first stitch of the previous row (not the base of the last stitch).
- Begin your next row directly.
This eliminates the “gap” that turning chains often create and produces a solid, seamless edge—perfect for scarves, dishcloths, or modern blankets.
Note: This works best with single crochet or half-double crochet. It may not suit every pattern, but it’s worth practicing!
7. Blocking: The Final Touch for Flawless Edges
Even with perfect technique, some yarns (especially natural fibers like wool or cotton) benefit from blocking—a simple process that evens out stitches and straightens edges.
How to block a crochet piece:
- Soak your finished item in lukewarm water for 15–20 minutes.
- Gently squeeze out excess water (don’t wring!).
- Lay it flat on a towel or blocking mat.
- Shape it to the correct dimensions using rust-proof pins.
- Let it dry completely.
Result: Wavy edges relax, stitches open up, and your piece looks intentional and professional—even if your tension wasn’t perfect.
Tip: Blocking won’t fix major stitch-count errors, but it will smooth out minor inconsistencies and give you that “store-bought” finish.
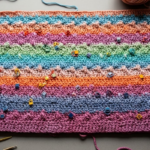
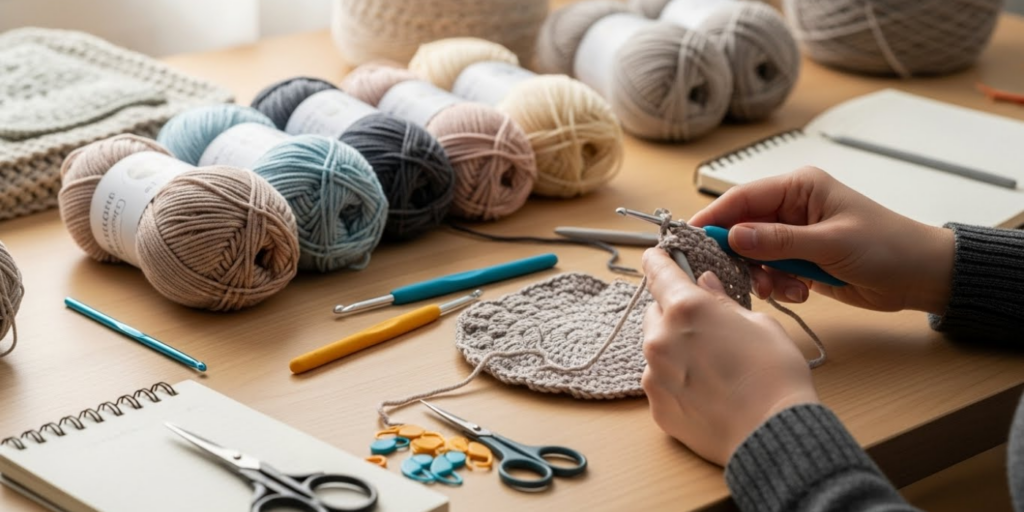
8. Practice Projects to Build Edge Confidence
The best way to master even edges? Crochet simple rectangles—again and again.
Try these beginner-friendly projects:
- Dishcloth (using 100% cotton yarn – you’ll see every stitch clearly)
- Scarf in single crochet (focus on counting and turning chains)
- Granny square blanket (each square is a chance to perfect corners)
With each project, your muscle memory improves. Soon, straight edges become second nature.
Remember: Even experienced crocheters rip out rows. It’s not failure—it’s refinement.
Conclusion: Even Edges Are a Skill—Not a Gift
Creating neat, straight edges in crochet isn’t about natural talent. It’s about awareness, consistency, and small adjustments—not perfection.
In this guide, you’ve learned that:
- Uneven edges usually come from inconsistent stitch counts or turning chain confusion;
- Counting every row and using stitch markers are game-changers;
- Tension can be managed with relaxation and the right tools;
- Blocking gives your project that final polish.
Now, take a deep breath and grab your hook. Your next project doesn’t need to be flawless—but with these tips, it can have edges you’re proud to show off.
What’s your biggest edge struggle? Is it the first stitch, the last stitch, or something else? Share your experience in the comments below—we’re all learning together! And if this guide helped you, don’t forget to share it with a fellow beginner crocheter. Happy stitching! 🧶

Luiza Santos is a passionate crochet and knitting enthusiast who finds joy in transforming simple yarn into meaningful, handmade creations. With a deep love for texture, color, and craftsmanship, she believes every stitch carries a story. Luiza brings warmth, creativity, and years of hands-on experience to everything she makes, inspiring others to discover the beauty of fiber arts.