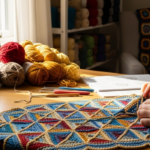
You’ve got your yarn, your hook, and that cozy blanket you’re slowly knitting away at… but why does it feel like you’re always fumbling for something? A stitch marker that vanished. A tape measure tangled in your yarn ball. Scissors that won’t cut through a single strand. Sound familiar?
If you’ve ever stared at your crochet project mid-row, wondering where on earth that darn needle went—or worse, used your teeth to snip yarn (we’ve all been there)—then this guide is for you. Crochet isn’t just about hooks and yarn. It’s about the quiet, often-overlooked tools that turn frustration into flow. The right notions don’t just make your work easier—they make it joyful. And honestly? Once you start using the right ones, you’ll wonder how you ever crocheted without them.
In this guide, we’re cutting through the noise. No fluff. No gimmicks. Just the actual tools crocheters use daily—tools that save time, reduce strain, prevent mistakes, and even make your projects look more professional. We’ll walk through five essentials you didn’t know you needed, explain why they matter, share real-life examples from seasoned crocheters, and give you simple, affordable ways to get started—even if you’re on a budget.
By the end, you won’t just have a list of tools. You’ll have a personalized system that turns your crochet space into a calm, efficient creative sanctuary. Let’s dive in.
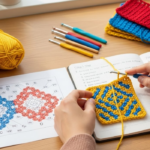
1. Stitch Markers: Your Project’s Best Friend (Yes, Really)
Let’s start with the unsung hero of crochet: the humble stitch marker.
You might think, “I can count stitches—I don’t need those little plastic rings.” But here’s the truth: counting every single stitch on a lace shawl or amigurumi body? It’s exhausting. And by row 17, you’ll forget where you started. That’s when mistakes creep in—and fixing them means ripping out hours of work.
Stitch markers keep you grounded. Whether you’re working in the round (like hats or bags) or shaping a sweater, they act as visual anchors. Place one at the beginning of each round? Instant clarity. Mark your increases or decreases? No more guessing.
Pro tip: Not all markers are created equal. Plastic rings work fine, but if you’re working with fine yarn or tight stitches, they can slip out. Try locking stitch markers (like safety pin-style ones) or even small rubber bands from your desk drawer—yes, really. I’ve used them for years. Or, for a touch of charm, use keychains or tiny beads threaded onto a piece of scrap yarn. One crocheter I know uses colorful LEGO bricks as markers for her kids’ projects. Fun, functional, and totally free.
Why it matters: A single misplaced stitch can throw off an entire pattern. With markers, you’re not just avoiding errors—you’re building confidence. You’ll crochet faster, with less anxiety, and more enjoyment. That’s the magic.
And here’s the kicker: you don’t need to buy a $20 set. Start with five. Buy a pack of 10 for under $3 online. Keep them in a tiny pill organizer or a key ring. Make them part of your routine—like putting your hook in your pocket before you walk out the door.
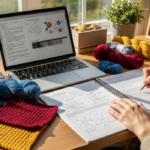
2. Tape Measure + Row Counter: The Dynamic Duo You Didn’t Know You Needed
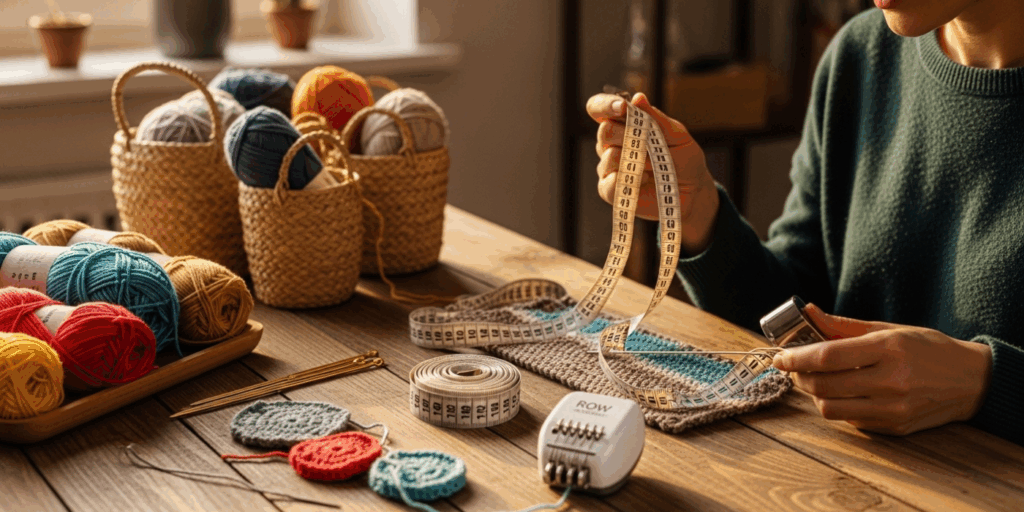
Imagine this: You’re halfway through a baby blanket, following a pattern that says “Work until piece measures 30 inches.” You squint at your yarn, guess the length, and finish… only to realize it’s 38 inches. Too big. Now you’ve got to unravel everything.
Sound familiar?
That’s where a tape measure comes in. Not just any tape—a flexible, retractable one designed for sewing or crafting. Keep it clipped to your project bag or pinned to your couch cushion. Measure every few rows. It takes 10 seconds. It saves you hours.
But here’s the secret sauce: pair it with a row counter.
Row counters are small, handheld devices (or apps!) that let you track how many rows you’ve completed. No more scribbling on napkins or losing count because your cat jumped on your notebook. Some are mechanical—click a button each row. Others are digital apps like Crochet Counter or Ravelry’s built-in tracker. I use a tiny plastic one that fits in my palm. It’s like having a personal assistant who never forgets.
Real-life benefit: A friend of mine made a sweater for her daughter using a free pattern. She skipped the row counter and assumed she was “about” on track. Turns out, she was 40 rows short. She had to frog (rip out) the whole thing. She cried. Then she bought a row counter. Now she’s making three sweaters a year—and they all fit perfectly.
Bonus tip: If you’re on a budget, use your phone’s notes app. Open a new note titled “Project: Baby Blanket” and tap “+1” after each row. It’s free, accessible, and works anywhere—even in bed with your blanket and tea.
These two tools don’t just prevent mistakes. They help you plan. Want to finish a gift by Christmas? Track your progress. See you’re behind? Adjust your pace. Crochet becomes intentional, not accidental.
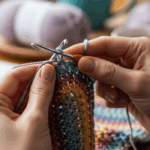
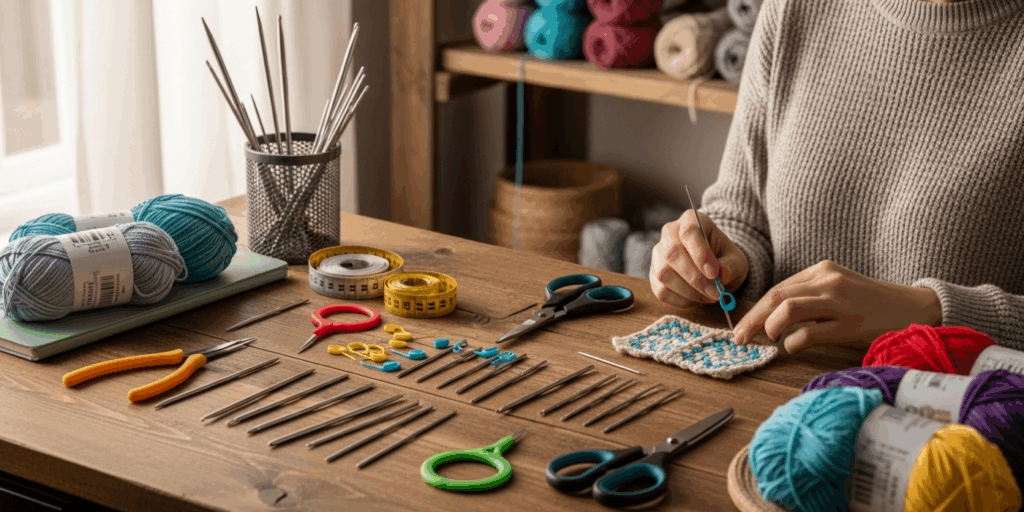
3. Yarn Needle & Scissors: The Quiet Powerhouses
You’ve finished your last stitch. You’ve woven in the ends. You’re done, right?
Not quite.
That’s where the yarn needle (also called a tapestry needle) steps in. It’s not flashy. It doesn’t have buttons or lights. But it’s the tool that gives your project a polished, professional finish.
Think about it: loose ends sticking out? They snag. They look sloppy. They make your hard work feel unfinished. A yarn needle lets you weave those ends invisibly into the fabric. No knots. No bulk. Just smooth, clean edges.
What to look for: Choose a needle with a large eye (for thick yarn) and a blunt tip (so you don’t pierce your stitches). Metal needles glide through wool, while plastic ones are gentler on delicate fibers like alpaca or silk. I keep two sizes on hand: one for worsted weight, one for lace.
And then there’s scissors.
Not just any scissors. Crocheters need small, sharp, precision scissors. Why? Because regular kitchen scissors? They’re too big. They tug. They fray. And if you’re snipping yarn mid-project, you don’t want to accidentally cut your work—or your finger.
I use a pair of embroidery scissors—about 3 inches long—with a pointed tip. They sit right next to my hook. I use them to cut yarn, trim stray threads, and even snip the tails of my stitch markers. They cost $8. I’ve had them for five years.
Pro tip: Keep a tiny pair in your project bag, another on your desk, and one in your car. You never know when you’ll need to snip a loose end while waiting in line or during a coffee break.
These tools aren’t glamorous—but they’re the reason your projects look like they came from a boutique, not a garage sale.
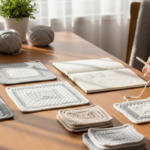
4. Blocking Mats & Pins: Transforming “Okay” Into “Wow”
Here’s something most beginners don’t realize: crochet doesn’t always look like it should… right out of the hook.
A granny square might curl. A lace shawl might look lumpy. A blanket might look uneven. That’s not your fault. It’s physics. Yarn has memory. Stitch tension varies. And that’s where blocking comes in.
Blocking is the process of wetting or steaming your finished piece and pinning it into the perfect shape as it dries. It’s like giving your crochet a spa day—and the results? Mind-blowing.
You don’t need fancy equipment. Start with:
- A foam blocking mat (inexpensive, reusable, and easy to pin into)
- A set of rust-proof T-pins (the kind used for sewing)
- A spray bottle of water
I blocked my first shawl on my kitchen floor with towels and safety pins. It looked like a crumpled napkin. After 24 hours of blocking? It became a delicate, lacy cloud. My sister cried when she saw it.
Why it matters: Blocking doesn’t just fix shape—it enhances texture. Lace opens up. Stitch definition pops. Colors look richer. It’s the difference between “I made this” and “I crafted this.”
Beginner hack: If you don’t want to invest in mats yet, use a clean towel on your bed. Pin your piece to the towel with safety pins. Spritz lightly with water. Let it dry overnight. That’s it.
Blocking isn’t just for experts. It’s for anyone who wants their hard work to shine.
And here’s the best part: once you do it once, you’ll never skip it again.
5. The Secret Weapon: A Good Light + Organized Space
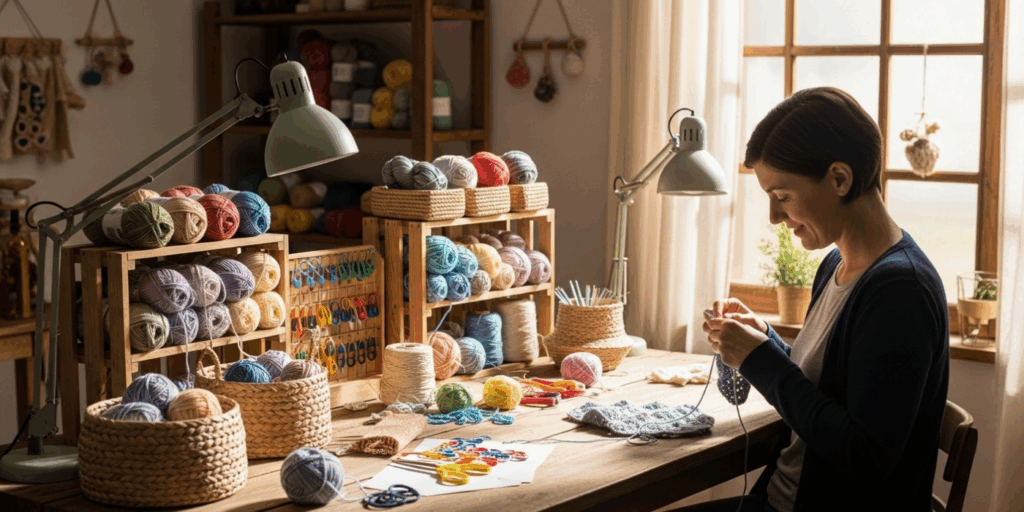
Let’s talk about something no one mentions enough: lighting.
If you’ve ever crocheted at night and squinted at your stitches until your eyes hurt, you know what I mean. Poor lighting doesn’t just strain your eyes—it makes you miscount stitches, miss holes, and create uneven tension. Over time, it can lead to headaches, fatigue, and even carpal tunnel.
Investing in a good task light is one of the smartest moves you can make.
Look for LED lights with adjustable brightness and color temperature (warm white, around 2700K–3000K, is easiest on the eyes). Clip-on lights are perfect—they attach to your chair, table, or even your project bag. I use a $15 one from Amazon that swings over my lap. It’s saved my eyes and my sanity.
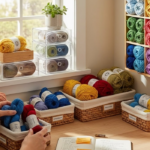
And while we’re at it—organization.
Your crochet space doesn’t need to be Instagram-perfect. But it does need to be functional.
Try this: Keep a small basket or caddy near your chair. Inside: your hook, scissors, yarn needle, row counter, stitch markers, and a notebook. Everything you need, in one place. No more digging through drawers or losing your place mid-row.
One crocheter told me she used to spend 15 minutes every session finding her tools. After organizing her “crochet corner,” she gained back 90 minutes a week. That’s over 6 hours a month. Time you can spend creating—or resting.
Your environment shapes your experience. A cluttered space = a cluttered mind. A calm, well-lit corner? That’s where magic happens.
Final Thoughts: It’s Not About the Tools—It’s About the Joy
Let’s be real: crochet is a slow craft. It’s quiet. It’s meditative. It’s about presence.
The tools we’ve talked about? They’re not here to make you faster. They’re here to make you freer.
Free from frustration. Free from second-guessing. Free from the guilt of unfinished projects because you lost track or couldn’t find your scissors.
When you have the right notions, crochet becomes less of a chore and more of a ritual. A daily moment of calm. A way to create something beautiful, one stitch at a time.
You don’t need to buy everything at once. Start with one thing: maybe a stitch marker. Or a row counter. Or a better light. Notice how it changes your experience.
Then add another.
Before you know it, you’ll have a system that works for you—not a Pinterest board, not a YouTube influencer’s setup, but yours.
And that’s the real win.
Your Turn: What’s Your Must-Have Tool?
I’d love to hear from you.
What’s the one crochet notion you couldn’t live without? Is it a quirky hack—like using binder clips as stitch holders? A favorite brand of yarn needle? A trick you learned from your grandma?
Drop a comment below. Let’s build a community of crocheters who share not just patterns, but practical wisdom.
And if this guide helped you see your tools in a new light, share it with a friend who’s still fumbling for scissors in the dark.
Because every crocheter deserves to enjoy their craft—not just endure it.
Now go grab your hook… and that little stitch marker you’ve been ignoring.
Your next project is waiting. And it’s going to be beautiful. 🧶✨

Luiza Santos is a passionate crochet and knitting enthusiast who finds joy in transforming simple yarn into meaningful, handmade creations. With a deep love for texture, color, and craftsmanship, she believes every stitch carries a story. Luiza brings warmth, creativity, and years of hands-on experience to everything she makes, inspiring others to discover the beauty of fiber arts.