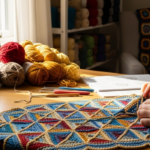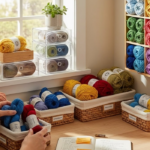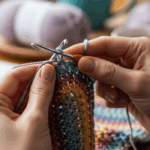
Imagine this: You’re sitting by the window on a quiet Saturday afternoon, a delicate lace pattern unfolding beneath your fingers like a whispered secret. Each stitch is a brushstroke. Each gap, a breath. What you’re creating isn’t just a doily or a table runner—it’s a portrait. A custom design you dreamed up, translated into thread and texture. Welcome to the quiet magic of filet crochet.
Filet crochet is one of those hidden gems in the crochet world—elegant, geometric, and surprisingly versatile. Often associated with vintage doilies or delicate curtains, it’s actually a powerful form of visual storytelling through yarn. Unlike traditional crochet that relies on texture and stitch variety, filet uses a simple grid of double crochets and chains to form images—think hearts, animals, quotes, even portraits. And the best part? Once you learn to read and create your own charts, the possibilities are endless.
In this guide, we’ll walk you through everything you need to know to move beyond pattern books and start designing your own filet crochet masterpieces. We’ll break down how filet charts work, how to turn any image into a stitch pattern, how to avoid common mistakes, and why this skill isn’t just about crafting—it’s about creativity, patience, and personal expression. Whether you’re a beginner curious about trying something new or an experienced crocheter ready to level up, this is your invitation to see crochet in a whole new light.
What Is Filet Crochet—and Why Does It Feel Like Magic?
At its core, filet crochet is a technique that creates images using two basic stitches: the double crochet (dc) and the chain space (ch-sp). These form a grid—like pixels on a screen—where solid squares (dc) represent filled areas and open squares (ch-sp) represent negative space. When arranged correctly, they form pictures: flowers, letters, animals, even famous artworks.
It’s called “filet” because it resembles the fine mesh of a net—filet comes from the French word for “net.” But don’t let the name fool you. This isn’t just lacework. It’s pixel art, crocheted.
Think of it like coloring in a coloring book—but instead of crayons, you’re using yarn and hooks. And instead of following someone else’s lines, you get to draw your own.
Why does this matter? Because most crochet patterns are rigid. You follow instructions, stitch by stitch, with little room for customization. Filet crochet flips that. It gives you control. Want a monogram of your initials on a baby blanket? Done. A silhouette of your dog on a pillow? Easy. A quote from your favorite book along the edge of a shawl? Absolutely.
And here’s the kicker: you don’t need advanced skills to start. If you can do a double crochet and chain, you can do filet. The real magic lies in learning how to read the chart—not just follow it.
How to Read a Filet Crochet Chart (No Math Degree Required)
Let’s talk charts. If you’ve ever looked at a filet pattern and felt overwhelmed by grids of squares, you’re not alone. But here’s the truth: filet charts are just visual instructions in disguise.
Each square on the chart represents one “cell” in your crochet grid. A filled square = a solid block of 3 dc stitches. An empty square = a chain-2 space (with a dc on either side). That’s it.
Most charts are read from bottom to top, right to left (like knitting charts), but always check your pattern’s key. Some are designed for left-to-right reading—especially if they’re meant for left-handed crocheters.
Here’s a simple example:
| ■ (Filled) | Solid mesh | 3 dc in same space |
| □ (Empty) | Open mesh | Ch 2, skip 2 sts, dc in next |
You start at the bottom row, work your way up, and each row builds on the last. The beauty? You don’t need to count stitches constantly. You count squares.
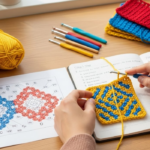
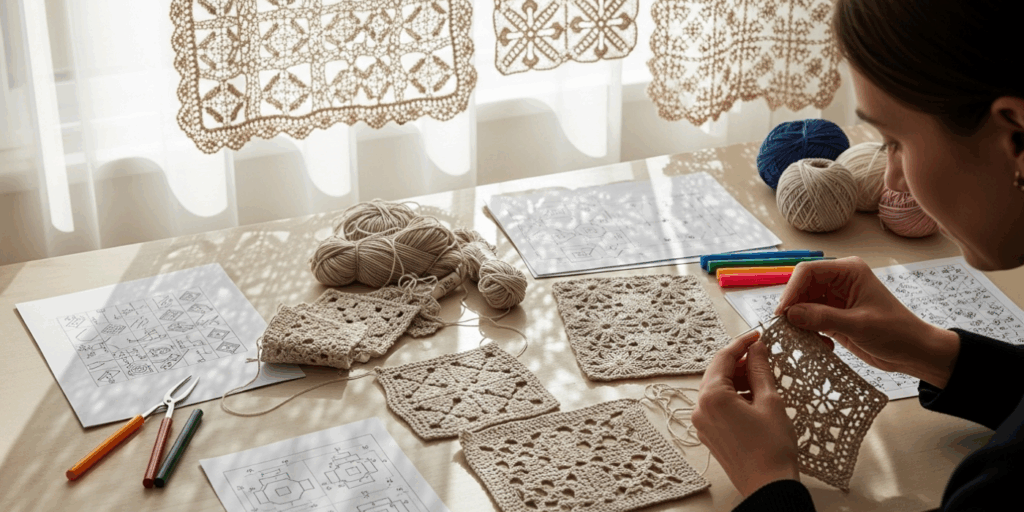
Pro tip: Print your chart and grab colored pencils. Color in the filled squares as you complete them. It’s like a puzzle you’re solving with your hands—and suddenly, you’re not just crocheting. You’re seeing your design come alive.
And here’s a game-changer: You can use graph paper to sketch your own designs. Doodle a heart. Sketch a tree. Trace a silhouette from a photo. Then, translate it square by square. No apps needed. No software. Just you, your pencil, and your hook.
Turning Any Image Into a Filet Pattern (Even Your Cat)
You’ve seen those adorable filet crochet tote bags with custom monograms. Or the wedding shawls with floral vines. But what if you want your design? Maybe your child’s first drawing. Your favorite quote. A map of where you got engaged.
Here’s how to do it—step by step.
Step 1: Choose Your Image
Start simple. A heart, a star, a letter, a simple animal outline. Avoid busy photos with gradients. Filet works best with bold, high-contrast shapes.
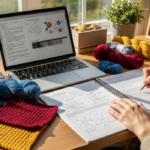
Step 2: Resize It
Use free tools like Photopea (free online Photoshop alternative) or even Microsoft Paint. Resize your image to fit a grid—say, 20×20 squares. Then, use the “posterize” or “threshold” tool to turn it into black-and-white. No grays. Just solid shapes.
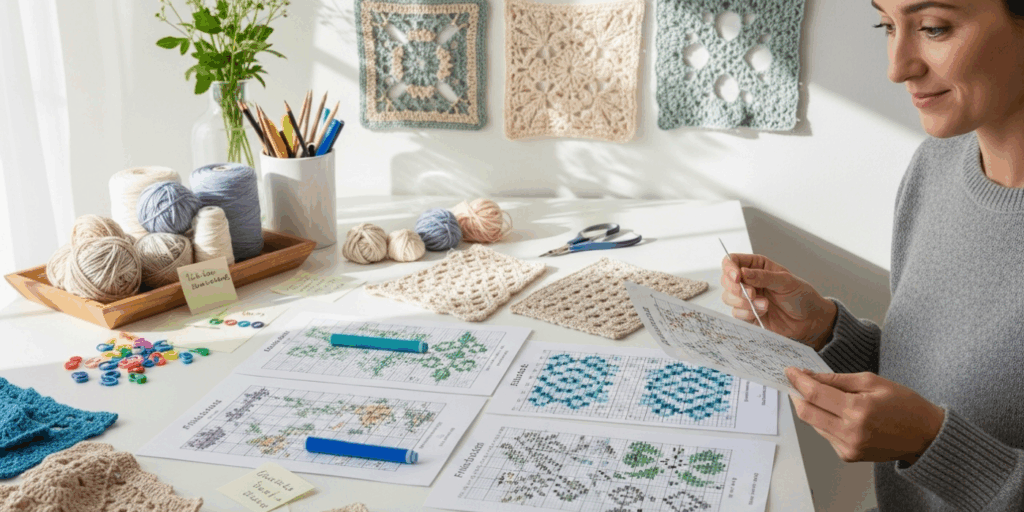
Step 3: Translate to Grid
Now, overlay a grid. Each black pixel = a filled square. Each white pixel = an open square. Do this by hand on graph paper if you prefer tactile work.
Step 4: Count Your Rows and Columns
If your design is 15 squares wide, your foundation chain will be:
(Number of squares × 3) + 1
So: (15 × 3) + 1 = 46 chains.
Step 5: Start Crocheting!
Row 1: Chain 46. Skip 2 chains, dc in the 3rd. Then, for each square:
- Filled? 3 dc
- Open? ch 2, skip 2, dc in next
Repeat across. Turn. Work row by row, following your chart.
I once turned my niece’s scribbled drawing of a dinosaur into a baby blanket. Her mom cried when she saw it. Why? Because it wasn’t just a blanket. It was a memory, stitched in thread.
Bonus Tip: Use a different color yarn for the outline of your design. It makes the image pop and adds dimension without complexity.
Common Mistakes (And How to Fix Them Before They Ruin Your Project)
Even the best crocheters make mistakes. Filet crochet is forgiving—but only if you catch errors early.
Here are the top 3 mistakes—and how to dodge them:
1. Misreading the Chart Direction
You start at the top instead of the bottom? Your design flips upside down. Always double-check your pattern’s starting point. Write “BEGIN HERE” on your printed chart. Seriously. Do it.
2. Counting Chains Wrong
Foundation chains are the backbone (pun intended). If you’re off by even one, your whole design will be skewed. Use a stitch marker every 10 chains. Or better yet—count your squares as you go, not your chains.
3. Forgetting to Count the Turning Chain as a Stitch
In filet, the chain-3 at the beginning of a row often counts as the first dc. But not always. Some patterns treat it as a spacer. Always check your pattern’s key. When in doubt, count your stitches at the end of each row. You should have the same number of “squares” as your chart.
And if you do make a mistake? Don’t rip it all out. Use a crochet hook to gently undo stitches one by one. It’s slower, but less stressful. And yes—it’s okay to pause and take a breath. Filet isn’t a race. It’s a meditation.
Why Filet Crochet Is More Than a Craft—It’s a Form of Storytelling
There’s something deeply human about turning ideas into something tangible. Filet crochet doesn’t just make objects—it makes meaning.
Think about it:
- A grandmother crochets her grandchildren’s initials into a blanket.
- A bride weaves her wedding date into the border of her veil.
- A survivor of loss creates a quilt with the names of loved ones, one square at a time.
Filet is silent poetry. It’s memory made visible.
Unlike mass-produced items, a filet piece carries intention. Every stitch is chosen. Every gap is deliberate. And when you create your own chart, you’re not following instructions—you’re composing.
I once met a woman at a craft fair who made filet coasters with the names of her favorite books. “People think I’m just making tableware,” she told me. “But each one holds a story. This one? Pride and Prejudice. That one? The Alchemist. When someone uses it, they’re holding a little piece of that world.”
That’s the power of customization. You’re not just making something pretty. You’re making something personal.
And here’s the best part: you don’t need to be “good” at art. You just need to care.
Your drawing doesn’t have to be perfect. Your chart doesn’t need to be symmetrical. If it means something to you, it’s beautiful.
Tools, Tips, and Free Resources to Get Started Today
Ready to dive in? Here’s your starter toolkit:
✅ Basic Supplies:
- Size H/5mm crochet hook
- Medium-weight cotton yarn (ideal for crisp stitches)
- Scissors, yarn needle
- Graph paper (print free templates online!)
✅ Free Chart Generators:
- PixelCrochet.com – Upload any image, and it converts to a filet chart.
- MyPhotoCrochet – Great for photos with high contrast.
- StitchFiddle.com – Lets you draw your own grid and export as PDF.
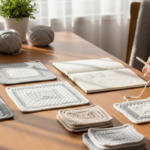
✅ Practice Project Ideas:
- A single heart for a Valentine’s gift
- Your initials in a border
- A small star for a Christmas ornament
- A coffee cup for a kitchen towel
Start small. Celebrate small wins. Your first chart might be messy. Your second will be better. By the third, you’ll be hooked (pun intended again).
And if you’re feeling stuck? Join a filet crochet group on Ravelry or Instagram. Search #filetcrochet. You’ll find hundreds of people sharing their work, asking questions, and cheering each other on. Crochet is community. And filet? It’s the quiet heartbeat of that community.
Your Turn: Create Something Only You Could Make
Filet crochet isn’t about perfection. It’s about presence.
It’s about choosing to slow down in a world that moves too fast. About turning a simple grid into a story only you could tell. About looking at a blank page—and seeing not emptiness, but potential.
You don’t need to be an artist. You don’t need expensive tools. You just need a hook, some yarn, and the courage to try.
So here’s my challenge to you:
This week, pick one image that means something to you.
A child’s drawing. A favorite quote. A pet’s silhouette. A flower from your garden.
Sketch it on graph paper. Turn it into a 10×10 chart.
Then, make it.
Don’t wait for “someday.” Don’t wait until you feel ready.
You are ready.
Crochet that first row. Even if it’s imperfect. Even if it’s tiny.
Because the first stitch is always the bravest.
And when you finish? Share it. Post it. Send it to someone you love.
Tell them: I made this for you.
Because that’s what filet crochet really is—not just a technique.
It’s love, stitched into thread.
What will you create first?
Drop a comment below with your idea—or share a photo of your first filet project. I’d love to celebrate your creativity with you.
And if this guide helped you see filet crochet in a new light, share it with someone who needs a little inspiration today. Because sometimes, the most beautiful things are born from the quietest acts of courage.
Happy crocheting. 🧶

Luiza Santos is a passionate crochet and knitting enthusiast who finds joy in transforming simple yarn into meaningful, handmade creations. With a deep love for texture, color, and craftsmanship, she believes every stitch carries a story. Luiza brings warmth, creativity, and years of hands-on experience to everything she makes, inspiring others to discover the beauty of fiber arts.