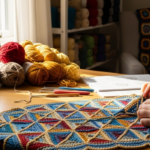
Have you ever watched an experienced crocheter work their magic and wondered how their hands seem to move with such ease, speed, and grace—while your own fingers feel stiff, awkward, or even painful after just a few rows? You’re not alone. One of the biggest (and most overlooked!) secrets to comfortable, efficient, and enjoyable crocheting lies in something surprisingly simple: how you hold your hook and yarn.
Getting your grip right isn’t just about looking “professional”—it’s about preventing strain, improving tension control, and actually enjoying your crafting time instead of fighting with your tools. Whether you’re a total beginner or have been crocheting for years with nagging wrist pain or inconsistent stitches, this guide will walk you through the two main hook-holding styles, how to manage your yarn tension like a seasoned maker, and practical tips to find your perfect technique.
By the end, you’ll understand why there’s no single “right” way—but plenty of better ways to hold your tools so your projects flow smoothly, your stitches stay even, and your hands stay happy.
Let’s dive in!
1. Why Your Grip Matters More Than You Think
It might seem trivial, but how you hold your crochet hook directly affects your stitch tension, speed, comfort, and even the final look of your project. Hold it too tightly, and your stitches will be stiff and your hand will cramp. Hold it too loosely, and the hook slips, your rhythm breaks, and your tension becomes erratic.
Many new crocheters unknowingly grip their hook like a pencil during a timed exam—white-knuckled and tense. This not only causes fatigue but can lead to long-term issues like carpal tunnel or tendonitis. On the flip side, experienced crocheters often move with relaxed, fluid motions because they’ve found a grip that works with their natural hand anatomy—not against it.
Think of it like driving: gripping the steering wheel too hard makes your arms tired and your turns jerky. A relaxed but controlled grip gives you smooth, responsive control. The same principle applies to crocheting.
The good news? There’s no single “correct” way to hold your hook. Instead, there are two widely used, ergonomic styles, and your job is to discover which one (or hybrid) feels most natural for you.
2. The Two Main Ways to Hold a Crochet Hook
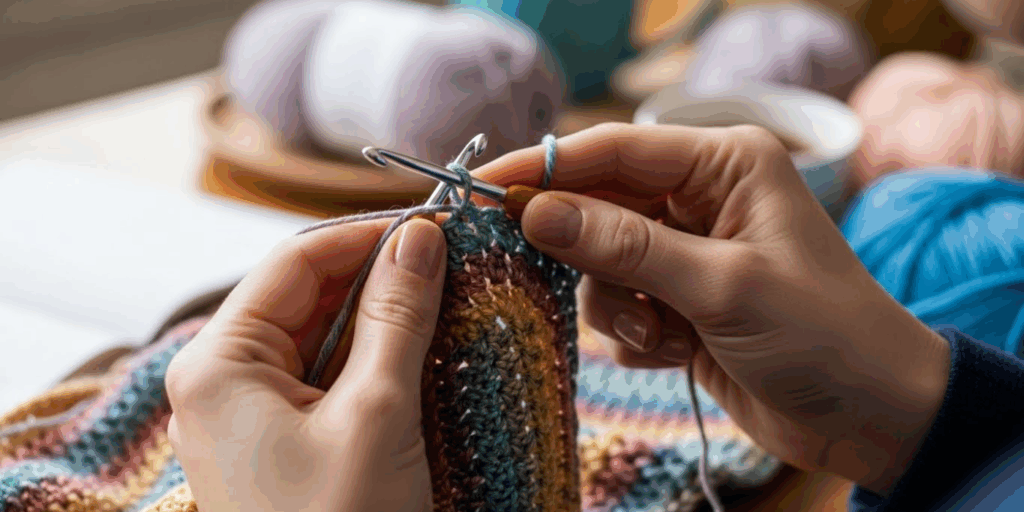
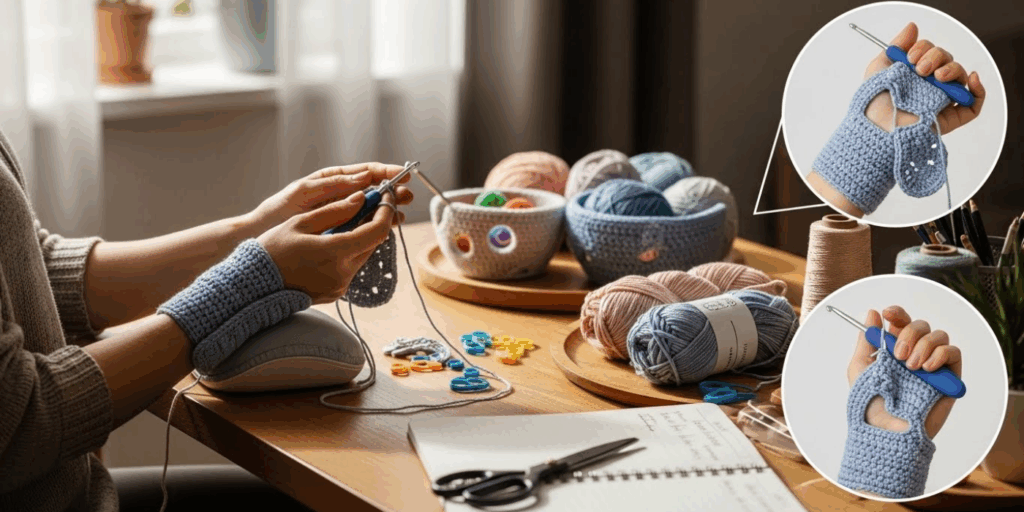
Crocheters generally fall into one of two camps when it comes to hook-holding: the Pencil Grip or the Knife Grip. Both are valid, widely used by professionals, and offer unique advantages.
The Pencil Grip (aka “Over-the-Top”)
In this style, you hold the hook like you would a pencil when writing—between your thumb and index finger, with the shaft resting on your middle finger. Your palm faces downward, and your wrist stays relatively neutral.
Best for:
- Fine, detailed work (like amigurumi or lace)
- Smaller hooks (steel or size B–E)
- Crocheters who also knit or draw
Pros:
- Offers precise control for intricate stitches
- Feels natural if you’re used to writing or sketching
- Easier to see your work up close
Cons:
- Can cause finger fatigue during long sessions
- May lead to tighter tension if you’re not mindful
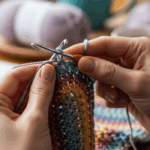
The Knife Grip (aka “Under-the-Palm”)
Here, you hold the hook like a dinner knife when cutting food—with the hook resting in your palm, your thumb on top for control, and your index finger guiding the tip. Your palm faces slightly inward, and your wrist is gently bent.
Best for:
- Larger projects (blankets, scarves)
- Bigger hooks (size F and up)
- Faster, rhythmic crocheting
Pros:
- Uses larger hand muscles, reducing finger strain
- Promotes looser, more consistent tension
- Often feels more relaxed for extended sessions
Cons:
- Slightly less precision for tiny stitches
- May feel awkward at first if you’re used to the pencil grip
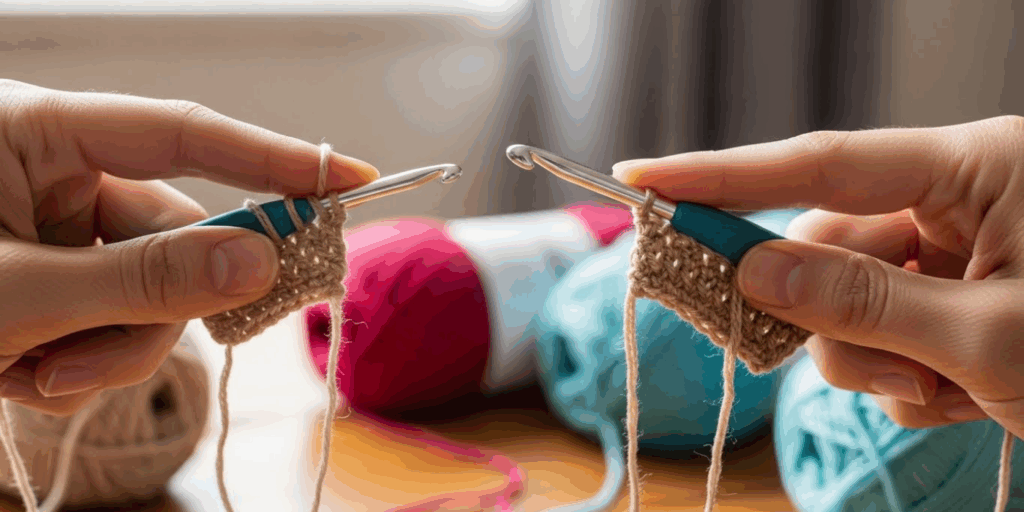
💡 Try this now: Pick up your hook and try both grips for 30 seconds each. Notice which feels more natural, which gives you better control, and which causes less tension in your hand or wrist. There’s no rush—your “perfect” grip might even evolve over time!
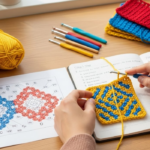
3. Mastering Yarn Tension: The Hidden Key to Even Stitches
Now that you’ve got your hook sorted, let’s talk about the other half of the equation: your yarn. Even the best hook grip won’t save you if your yarn tension is all over the place. Uneven tension leads to wobbly edges, misshapen garments, and endless frustration.
The secret? Let your fingers do the work—not your whole arm.
Most pros guide the yarn through two or more fingers on their non-dominant hand (your “yarn hand”) to create gentle, consistent resistance. This allows just enough yarn to feed through for each stitch without pulling too tight or letting it go slack.
A Simple Yarn Tension Technique to Try
- Drape the yarn over your pinky finger from back to front.
- Weave it under your ring finger, then over your middle finger.
- Pinch the working yarn lightly between your thumb and index finger near the hook.
This creates a natural “brake” system: when you need more yarn, relax your fingers slightly; when you need less, apply gentle pressure. The yarn flows smoothly, and your stitches stay uniform.
🌟 Pro Tip: If your yarn keeps slipping or your fingers cramp, try wrapping it fewer times (just over the index finger) or use a yarn guide ring—a small, inexpensive tool that slides onto your finger and controls tension without strain.
Experiment! Everyone’s hands are different. Some crocheters use three fingers, others just one. The goal isn’t to copy someone else’s method exactly—it’s to find a system that gives you consistent results without discomfort.
4. Common Mistakes (and How to Fix Them)
Even experienced crocheters fall into bad habits. Here are three frequent grip-related pitfalls—and how to correct them:
Mistake #1: Death-Gripping the Hook
You’re so focused on not dropping it that your hand tenses up like a vise.
✅ Fix: Hold the hook just firmly enough to control it—imagine you’re holding a baby bird. Too tight, and you hurt it. Too loose, and it flies away. Find that gentle middle ground.
Mistake #2: Letting the Yarn Run Wild
You feed yarn directly from the skein with no tension control, leading to loose loops and sloppy stitches.
✅ Fix: Always wind your yarn into a ball or cake first. Then use your yarn hand to guide it, as described above. Even a simple loop around your index finger makes a huge difference.
Mistake #3: Ignoring Wrist Pain
“Pushing through” hand or wrist discomfort leads to long-term issues.
✅ Fix: Take breaks every 20–30 minutes. Stretch your fingers, rotate your wrists, and check your posture. Your elbows should be relaxed at your sides, not pinned to your ribs or raised high.
📌 Remember: Crocheting should never hurt. If it does, something’s wrong with your technique, tools, or setup—not your “talent.”
5. Tools and Tweaks to Elevate Your Comfort
Sometimes, small adjustments make a world of difference. Here are a few pro-level tweaks to consider:
- Ergonomic Hooks: Brands like Clover Amour or Furls offer hooks with soft, contoured handles that reduce pressure points and improve grip comfort—especially helpful for those with arthritis or weak grip strength.
- Hook Size Matters: Using a hook that’s too small for your yarn forces you to pull tighter. Match your hook to your yarn weight (check the label!) for smoother stitching.
- Hand Exercises: Simple stretches like finger spreads, wrist circles, and thumb touches can prevent stiffness and improve dexterity. Try them before and after crocheting!
- Mirror Practice: Watch yourself in a mirror while crocheting. You’ll instantly spot tension in your shoulders, a death grip on the hook, or awkward yarn handling.
🌈 Fun Fact: Many professional crocheters switch grips depending on the project! They might use the pencil grip for a delicate doily and the knife grip for a cozy blanket. Flexibility is a superpower.
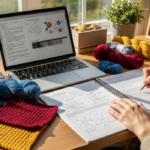
6. Finding Your Perfect Style: It’s Personal!
Here’s the most important truth: there is no universal “pro” way to hold your hook and yarn. The “best” technique is the one that lets you crochet comfortably, consistently, and joyfully.
Some of the most talented designers and crafters use unconventional grips—hook held sideways, yarn wrapped around the elbow, even crocheting left-handed with a right-handed hook! What matters isn’t how it looks—it’s how it works for you.
So give yourself permission to experiment, adjust, and evolve. Film yourself crocheting. Ask a friend to watch your hands. Try a new grip for one row, then go back. Over time, your muscles will learn, your tension will stabilize, and your projects will reflect that confidence.
And if you’ve been crocheting “wrong” for years? Don’t worry. It’s never too late to refine your technique. Even small changes can dramatically reduce pain and improve results.
Conclusion: Crochet Should Feel Good—In Every Sense
You’ve now explored the two main hook-holding styles, learned how to control yarn tension like a seasoned maker, and discovered practical fixes for common frustrations. But more than that, you’ve been reminded of something vital: crocheting is meant to be enjoyable, not painful or stressful.
Your hands are your most important tools. Treat them with care. Find a grip that supports your natural movement. Adjust your yarn tension until your stitches sing. And remember—perfection isn’t the goal. Comfort, consistency, and creativity are.
So grab your hook, choose a method you’d like to try, and spend the next 10 minutes practicing with intention. Notice how your hand feels. Watch how your stitches change. Celebrate the small wins.
And if you’ve found a grip or yarn trick that works wonders for you, share it in the comments below! The crochet community thrives on shared wisdom. Your tip might be the exact solution another crafter has been searching for.
Happy stitching—you’ve got this! 🧶

Luiza Santos is a passionate crochet and knitting enthusiast who finds joy in transforming simple yarn into meaningful, handmade creations. With a deep love for texture, color, and craftsmanship, she believes every stitch carries a story. Luiza brings warmth, creativity, and years of hands-on experience to everything she makes, inspiring others to discover the beauty of fiber arts.