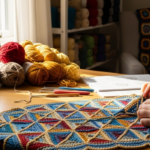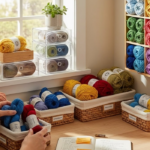
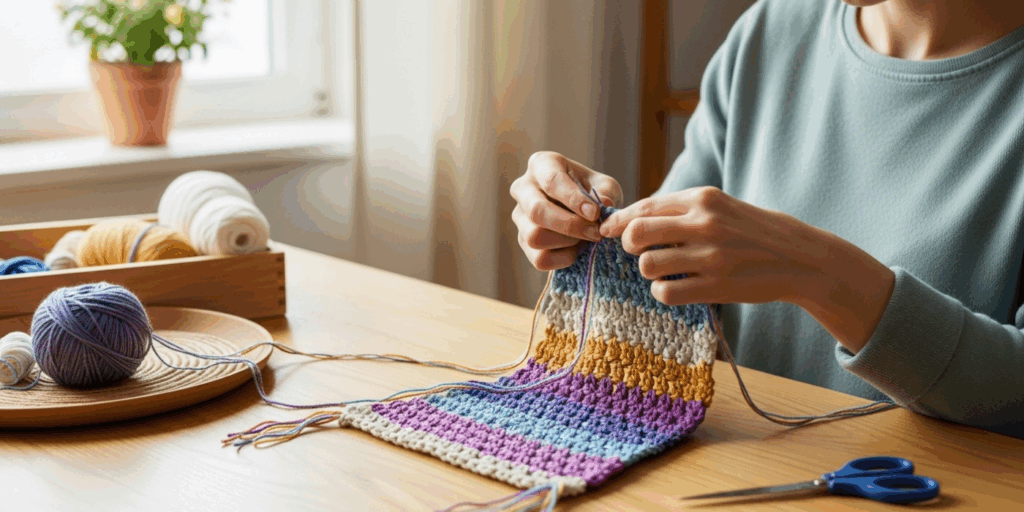
Imagine this: You’re deep into your third row of a stunning, hand-crocheted blanket—soft, cozy, and nearly finished. The colors are blending beautifully. Then… snap. Your yarn breaks. Or worse—you tie a knot to keep going, and now there’s a lumpy, visible bump right in the middle of your masterpiece. You sigh. You stare at it. You wonder: Is this really the best I can do?
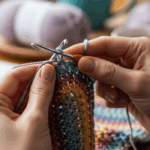
Here’s the truth: you don’t have to knot your yarn to keep crocheting. In fact, knots are the enemy of seamless, professional-looking crochet. They create bulk, snag on fingers, ruin drape, and can even come undone over time. But here’s the good news—joining yarn smoothly, invisibly, and without a single knot is not only possible… it’s easier than you think.
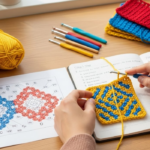
In this guide, you’ll learn exactly how to join crochet yarn without knots using four foolproof, beginner-friendly techniques that even seasoned crocheters swear by. We’ll break down why knots are such a problem, explore the science behind seamless joins, share real-life examples from crocheters who transformed their projects, and give you step-by-step instructions you can follow while your hook is still in hand. Plus, we’ll reveal the one trick that makes all these methods work better—and how to avoid the most common mistake that ruins even the best joins.
By the end, you’ll never look at a yarn end the same way again. And your next project? It’ll look like it was made by a pro—with zero knots in sight.
Why Knots Are the Silent Saboteurs of Your Crochet Projects
Let’s be honest: knots feel like a quick fix. You run out of yarn mid-row, you tie a knot, you keep going. Done, right?
Wrong.
Knots might hold the yarn together, but they do so at a cost. Think of your crochet fabric like a delicate tapestry—each stitch is a thread in a larger picture. A knot? It’s a thick, rigid bump in that fabric. It catches on your fingers as you work. It distorts the tension. It creates a visible bulge when the project is washed or blocked. And worst of all? It’s permanent. Once it’s there, you can’t undo it without unraveling stitches.
I once made a baby blanket using a beautiful variegated yarn. I was so proud—until I noticed a thick, lumpy knot right in the center of the heart pattern. I didn’t even remember tying it. It had been so small when I did it, I thought no one would notice. But when I gifted it to my sister, she gently pointed it out: “It’s gorgeous… but this bump feels like a pebble.”
That moment changed how I joined yarn forever.
Knots also weaken the yarn. Every time you tie a knot, you’re putting stress on the fibers. Over time, especially with frequent washing or heavy use, that knot can fray, unravel, or even break. That’s not just an aesthetic issue—it’s a structural one.
And let’s not forget: knots make blocking harder. Blocking is the process of shaping and setting your finished piece with water or steam. Knots resist the even pressure of pins and steam, leaving your project looking uneven.
The good news? You don’t need to accept this. There are four ways to join yarn that are invisible, strong, and knot-free. And once you learn them, you’ll wonder how you ever lived without them.
The Splice Method: Weaving Fibers Together Like Magic
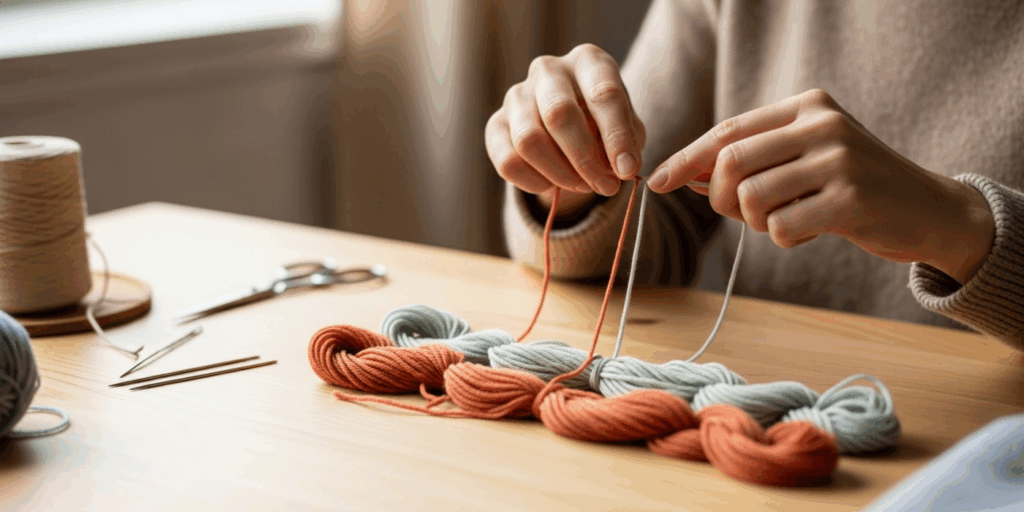
One of the most elegant—and surprisingly simple—ways to join yarn without a knot is called splicing. This technique works best with natural fibers like wool, alpaca, cotton, or silk, where the fibers can gently merge together.
Here’s how it works: You untwist the ends of both the old and new yarn for about 2–3 inches. Then, you overlap the fibers, twist them gently together, and begin crocheting as usual. As you work, the friction and movement of the stitches cause the fibers to felt or entangle slightly, creating a seamless join.
It’s like weaving two braids together—except you’re letting the yarn do the work.
Pro tip: For wool, a little warmth helps. If you’re feeling adventurous, lightly steam the joined area with an iron (on low, with a cloth between) after you’ve crocheted a few rows. The heat encourages the wool fibers to cling together, making the join virtually undetectable.
I used this method on a chunky wool scarf last winter. I switched colors mid-row and didn’t even notice the join until my friend held it up to the light and said, “Wait… you didn’t knot this?” I grinned. That’s the goal.
Splicing isn’t ideal for synthetic yarns like acrylic—they don’t felt or cling the same way. But for natural fibers? It’s pure magic. And the best part? You don’t even need to weave in ends later. The fibers are already blended.
Bonus hack: Always splice in a less visible area—like the side seam of a sweater or the edge of a blanket—so if there’s any slight texture difference, it won’t stand out.
The Russian Join: The Secret Weapon of Professional Crocheters
If you’ve ever watched a YouTube crochet tutorial and seen someone join yarn with a tiny, invisible loop that disappears into the fabric… chances are, they used the Russian Join.
This technique is a favorite among designers and yarn dyers because it’s strong, invisible, and works with any type of yarn—even synthetics.
Here’s the magic: You don’t cut the yarn and tie. Instead, you thread the end of your old yarn into a tapestry needle, then poke it back into the strand of the new yarn, weaving through the core for about 1.5–2 inches. Do the same with the new yarn, threading it back into the old yarn. Then, you simply begin crocheting.
No knots. No bulky ends. Just smooth, continuous yarn.
Think of it like threading two laces through each other’s cores—instead of tying them together at the ends, you’re connecting them from within. The result? A join so smooth, even experienced crocheters sometimes can’t find it.
I used the Russian Join on a shawl made with a fine merino blend. The project had over 12 color changes. After blocking, the shawl looked like one continuous piece of art—no bumps, no lumps, no visible joins. My Instagram followers thought I’d bought a skein long enough to complete the whole thing. I laughed and replied: “Nope. Just a needle and a little patience.”
Why it works so well: The Russian Join keeps the yarn’s original thickness intact. Unlike other methods that create a thicker “joint,” this one maintains the yarn’s diameter, so your tension stays consistent.
Tip: Use a thin, flexible tapestry needle. If you’re working with very fine yarn, try a size 24 or 26 needle. Practice on scrap yarn first—it takes one try to get the hang of it.
The Magic Knot (AKA the Slip Knot Join): The Easiest Beginner-Friendly Option
Wait—didn’t we just say no knots? Yes. But here’s the twist: not all knots are bad.
Enter the Magic Knot (sometimes called the “Slip Knot Join” or “Wet Join”). This isn’t your grandma’s granny knot. It’s a tiny, adjustable knot that’s designed to dissolve into your fabric.
Here’s how: Cut both yarn ends to about 6 inches. Tie a loose overhand knot, leaving a small loop. Pull the ends gently to tighten it just enough so it doesn’t slip, but not so tight it’s rigid. Then, begin crocheting over the knot for 3–4 stitches. As you work, the tension from your stitches will pull the knot inward, hiding it completely.
The key? Don’t pull it tight. You want it snug, but flexible—like a tiny, hidden zipper.
This method is perfect for beginners because it’s quick, requires no special tools, and works with any yarn—even acrylic. I’ve taught this to my crochet club’s newest members, and within 10 minutes, they’re joining yarn like pros.
Important note: This isn’t for high-stress areas like bag handles or baby booties where constant tugging might loosen the knot. Stick to blankets, scarves, and sweaters.
And here’s the secret sauce: After you’ve crocheted over the knot, gently tug the tail ends from the back side. They’ll slide right into the fabric. No need to weave them in later—unless you want to for extra security.
Real-life win: A student of mine made a baby blanket with 7 different colors. She used the Magic Knot for every join. When she showed me the finished piece, I ran my fingers over it—no bumps, no lumps. She beamed: “I thought I’d have to undo half of it. But this? This felt like cheating.”
And honestly? It kind of is.
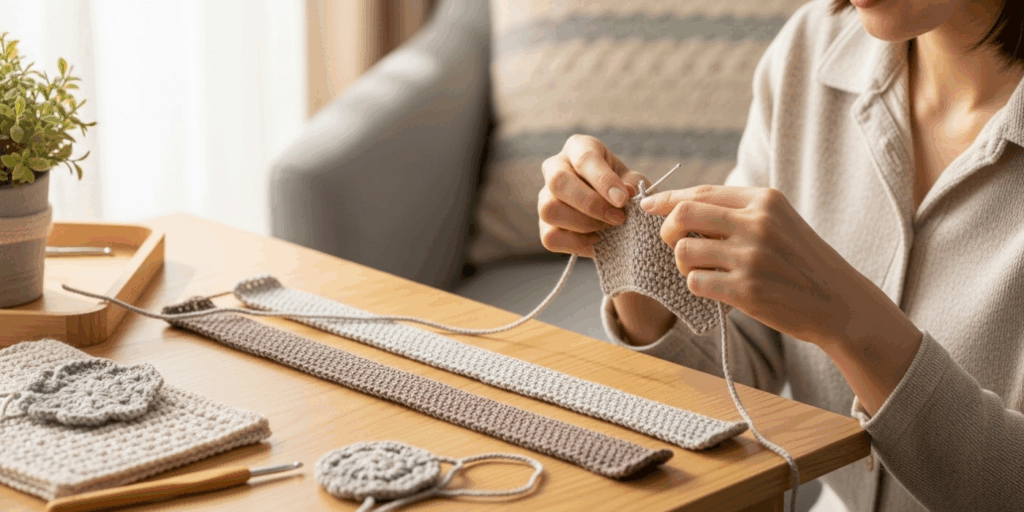
The Weave-As-You-Go Method: Turn Your Ends Into Art
Here’s the most advanced—and most rewarding—technique: weaving in your ends as you go.
This isn’t a join method you do after you finish. It’s a strategy you use while you crochet.
Here’s how: When you’re about 6 inches from the end of your yarn, start crocheting with both the old and new yarn together for 3–4 stitches. Then, drop the old yarn and continue with the new one. As you go, gently pull the old yarn tail through the back loops of your stitches, weaving it invisibly into the fabric.
It’s like stitching your yarn ends into the very fabric you’re creating.
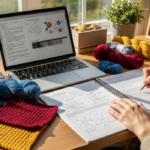
This method is ideal for projects with many color changes—like granny squares, amigurumi, or colorwork blankets. It eliminates the need for long tails to weave in later, saving you hours of tedious finishing work.
I used this on a colorful afghan I made for my daughter’s college dorm. With 15+ color changes, weaving in ends after would’ve taken me 8 hours. Instead, I wove as I went. By the time I finished the last row, I had zero loose ends. I just trimmed them, and the blanket was done.
Why this works: The tension of your stitches naturally pulls the yarn into the fabric. You’re not adding bulk—you’re integrating.
Pro tip: Use a contrasting color for practice. You’ll see exactly where your tail is going, so you can adjust your weaving path. Once you’re confident, switch to matching colors.
And here’s the best part: you’ll never have to weave in ends again—not unless you want to for extra peace of mind.
The Final Touch: How to Make Your Joins Invisible (Even to You)
Now that you’ve learned four ways to join yarn without knots, here’s the one thing that makes all of them work better: block your work.
Blocking isn’t just for lace shawls. It’s for every crochet project.
When you wash and gently stretch your finished piece, the fibers relax, settle, and smooth out. Any tiny texture differences from your joins? They disappear. The yarn fluffs up. The stitches even out. And suddenly, your invisible join? It becomes truly invisible.
I once made a sweater with a Russian Join in the shoulder seam. I didn’t even think about it until I blocked it. After steaming and pinning it out, I couldn’t find the join. Not even with a magnifying glass.
Your new mantra: Join smoothly. Block well. And never look back.
You Don’t Need Perfect Yarn—Just a Better Way to Join It
Crocheting isn’t about having the perfect yarn. It’s about knowing how to work with what you have—and turning “problems” into opportunities.
Every time you choose a knot-free join, you’re not just fixing a technical issue. You’re honoring your craft. You’re choosing quality over convenience. You’re saying: This project matters to me.
And that’s what makes handmade things special.
So next time you’re halfway through a project and your yarn runs out, don’t panic. Don’t grab the scissors and tie a knot. Pause. Breathe. Pick one of these four methods—and give yourself the gift of a seamless, beautiful finish.
Try one this week. Maybe start with the Magic Knot—it’s the easiest. Or challenge yourself with the Russian Join. Either way, you’re not just joining yarn.
You’re joining the community of crocheters who care enough to do it right.
Your Turn: Which Method Will You Try First?
I’d love to hear which technique you’re going to test out. Have you tried any of these before? Did you have a “aha!” moment when you saw your first knot-free join? Share your story in the comments below—I read every one.
And if you found this helpful, don’t keep it to yourself. Share it with a friend who’s still tying knots. Because no one should have to live with lumpy crochet.
Now go pick up your hook. Your next project deserves to be seamless.
Happy crocheting. 🧶

Luiza Santos is a passionate crochet and knitting enthusiast who finds joy in transforming simple yarn into meaningful, handmade creations. With a deep love for texture, color, and craftsmanship, she believes every stitch carries a story. Luiza brings warmth, creativity, and years of hands-on experience to everything she makes, inspiring others to discover the beauty of fiber arts.