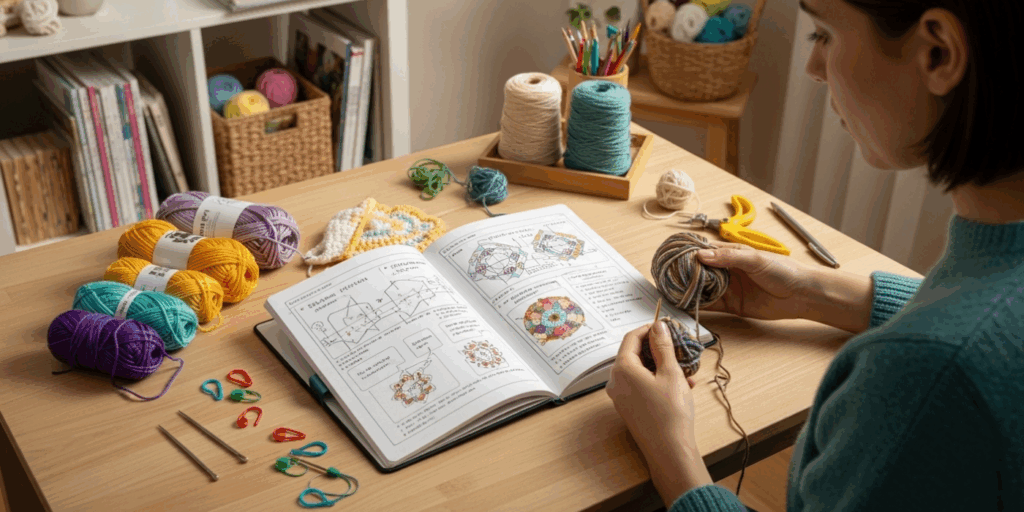
You’ve just picked up a crochet hook for the first time. Maybe you saw a cozy blanket on Pinterest, watched a soothing YouTube tutorial, or got a handmade scarf as a gift and thought, “I could do that.” And now? You’re standing in front of a shelf full of yarns, hooks, stitch markers, and tools you’ve never heard of—feeling overwhelmed, excited, and maybe a little lost.
Don’t worry. You’re not alone.
Crochet is one of the most rewarding crafts out there. It’s portable, therapeutic, and surprisingly affordable. But here’s the truth: the right tools don’t just make crocheting easier—they make it joyful. Starting with the wrong hook, using cheap yarn that frays, or forgetting a stitch marker can turn your first project from a dream into a frustration.
In this guide, we’ll walk through the must-have crochet tools every beginner needs—not just what’s on the shelf at the craft store, but what will actually help you succeed, stay motivated, and fall in love with the craft. We’ll break down each item simply, explain why it matters, and even share a few little-known tips that seasoned crocheters swear by. By the end, you’ll know exactly what to buy, what to skip, and how to set yourself up for success—no guesswork required.
Let’s get started.
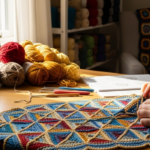
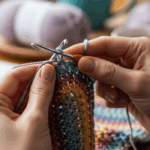
1. The Right Crochet Hook: Your First Best Friend
Let’s be real: not all crochet hooks are created equal.
You might think, “It’s just a hook, right? How different can they be?” But trust me—using the wrong hook can make your fingers ache, your stitches uneven, and your motivation plummet.
Crochet hooks come in different materials—aluminum, plastic, bamboo, ergonomic rubber grips—and sizes, measured in both millimeters (mm) and letters/numbers (like G-6 or 10.5). For beginners, start with an H-8 (5mm) aluminum hook. Why?
- It’s mid-sized: big enough to see your stitches clearly, small enough to handle without feeling clunky.
- Aluminum is smooth and lightweight, making it easy to glide through yarn.
- It’s durable and affordable—perfect for learning without breaking the bank.
Avoid those tiny, cheap plastic hooks sold in 10-packs at dollar stores. They bend, snap, and make your hands tired. And don’t jump straight into super fine hooks (like B-1 or C-2) unless you’re doing lacework—those are for later.
Pro tip: If your fingers get sore, try an ergonomic hook. Brands like Clover Amour or Tulip Etimo have soft, contoured handles that reduce strain. You’ll thank yourself after your third hour of crocheting.
Also, always check the hook size against your yarn label. Most beginner patterns recommend worsted weight yarn (Category 4) paired with a 5mm–5.5mm hook. That combo is the sweet spot for blankets, scarves, and amigurumi.
Your hook isn’t just a tool—it’s your partner. Treat it well, and it’ll help you create magic.
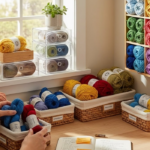
2. Yarn That Doesn’t Fight Back: Choosing Your First Skein
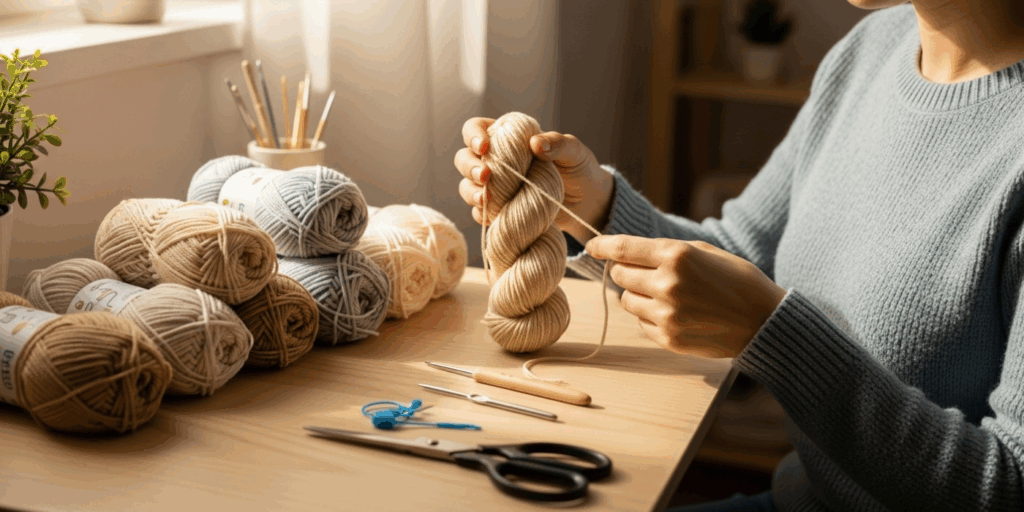
Here’s a secret: the yarn you choose can make or break your first project.
I remember my first attempt. I bought a bright, fuzzy, “super bulky” yarn because it looked so cozy. But it was so thick and slippery that I couldn’t even tell where my stitches were. I spent two hours unraveling it, frustrated and defeated.
Avoid fuzzy, slippery, or very thin yarns at first. Instead, go for:
- Medium weight (worsted weight, Category 4) yarn. Look for labels that say “4” or “Medium.”
- 100% acrylic or acrylic-blend yarns. They’re affordable, easy to care for, and come in tons of colors.
- Solid colors. No stripes, no variegated patterns. You need to see your stitches clearly.
Recommended brands for beginners: Red Heart Super Saver, Lion Brand Vanna’s Choice, or Caron Simply Soft. These are widely available, consistent in quality, and forgiving when you make mistakes.
Why this matters: When you can see each loop clearly, you’ll learn faster. You’ll notice when you missed a stitch or accidentally added one. You’ll feel progress—and that’s what keeps you going.
Also, buy at least two skeins of the same dye lot (the number on the tag). Running out halfway through your project? Annoying. Getting a slightly different shade because you bought a second skein later? Even worse.
And here’s a bonus tip: avoid buying yarn from the clearance bin unless you know what you’re doing. That “$1 ball” might be 30-year-old stock that’s brittle, faded, or full of knots. Save yourself the headache.
Yarn is your canvas. Choose one that lets you shine—not one that fights you every step of the way.
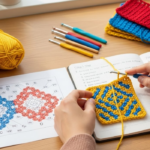
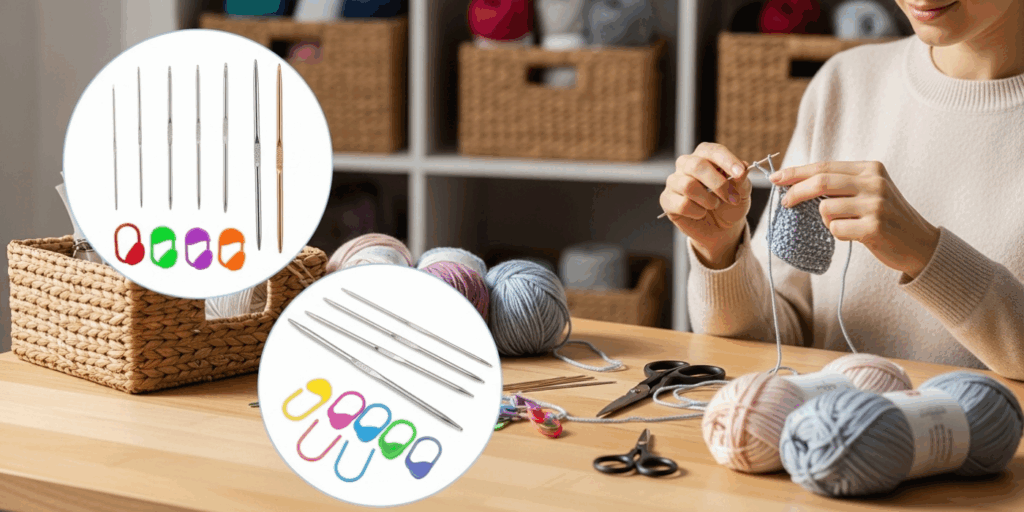
3. Stitch Markers: Your Little Safety Net
Imagine you’re halfway through a round of a granny square, and you lose track of where you started. Or you’re following a pattern that says, “Repeat 8 times,” but you’re not sure if you’ve done it 6 or 7. Sound familiar?
Enter: stitch markers.
These tiny, colorful rings or clips are non-negotiable for beginners. They act like bookmarks in your crochet journey—marking the beginning of a round, highlighting pattern repeats, or showing you where to increase or decrease.
You don’t need fancy ones. Even plastic ring markers (the kind that look like little safety pins) work perfectly. Or use a piece of contrasting yarn tied in a loop. I’ve used paper clips in a pinch—yes, really!
Why they’re essential:
- They prevent mistakes that lead to unraveling.
- They help you count rows and rounds without counting stitches manually (which is exhausting).
- They give you confidence. You’ll stop second-guessing yourself.
Pro tip: Use a different color marker for the beginning of the round. That way, you’ll always know where to join.
I still use stitch markers—even after 5 years of crocheting. They’re the quiet heroes of every project. And the best part? A pack of 20 costs less than $3.
Don’t skip them. They’re not optional. They’re your secret weapon.
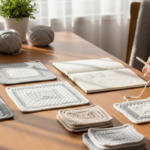
4. Scissors, Tape Measure, and Yarn Needle: The Quiet Trio
You might think, “I can just use kitchen scissors, right?” Technically, yes. But here’s the thing: using the wrong scissors for yarn is like using a butter knife to slice bread. It works… but it’s messy, inefficient, and frustrating.
Invest in a small, sharp pair of embroidery or fabric scissors. Keep them only for yarn. Don’t use them to open packages or cut paper. They’ll stay sharp longer, and your cuts will be clean—no frayed ends or pulled threads.
Next up: a flexible tape measure. You’ll need it to check gauge (how big your stitches are), measure the length of a scarf, or ensure your hat fits. A 60-inch cloth tape measure (the kind sewers use) is ideal. You can find them for under $5.
And then there’s the yarn needle (also called a tapestry needle). This is the tool you’ll use to weave in ends—those little tails of yarn left after you finish a project. If you don’t weave them in, your blanket will unravel, your amigurumi will look sloppy, and your work won’t last.
Look for a needle with a large eye (to fit thick yarn) and a blunt tip (so it doesn’t poke through your stitches). Plastic ones are fine for beginners.
Real-life example: Last winter, I made a scarf for my niece. I finished it, then just… left the ends hanging. Two weeks later, she showed me it was unraveling at the edge. I spent 45 minutes weaving in ends. Lesson learned: always weave in ends as you go—or right after you finish.
These three tools don’t scream “crafty,” but they’re the reason your finished projects look professional. Don’t underestimate them.
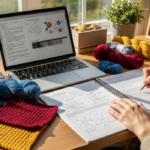
5. A Good Pattern (and Where to Find It)
Here’s something most beginners don’t realize: your tools matter, but your pattern matters more.
You can have the best hook, the softest yarn, and the shiniest stitch markers—but if your pattern is confusing, poorly written, or full of jargon, you’ll quit before you even finish row 3.
So where do you find beginner-friendly patterns?
Stick to these trusted sources:
- Ravelry.com (free patterns, user reviews, and clear ratings)
- Craftsy or LoveCrochet (search for “beginner” or “easy”)
- YouTube creators like Bella Coco, The Crochet Crowd, or Coco Crochet—they often link free patterns in video descriptions
Look for patterns labeled:
- “Beginner”
- “Uses basic stitches only” (chain, single crochet, double crochet)
- “Includes photos or video tutorials”
Avoid patterns that say things like “advanced techniques” or “requires knowledge of magic ring” unless you’re ready. Start simple: a dishcloth, a headband, or a basic granny square.
And here’s a golden rule: read the pattern all the way through before you start. If it says “ch 3 counts as first dc,” make sure you understand that. Otherwise, you’ll be confused halfway through.
Patterns are your roadmap. Choose one that feels welcoming—not intimidating.
6. A Crochet Project Bag: Because You’ll Want to Take It Everywhere
Once you start crocheting, you’ll realize something: you’ll want to do it everywhere.
On the couch. On the bus. In the waiting room. At your kid’s soccer practice.
That’s why a project bag is a game-changer.
It doesn’t have to be fancy. A simple drawstring bag, a reusable tote, or even a ziplock bag with your yarn, hook, and pattern inside will do. But having everything in one place means you’re less likely to leave your project behind—or forget your hook at home (yes, I’ve done that… twice).
Bonus: A project bag keeps your yarn from rolling around, tangling, or picking up lint. It also makes your craft feel more intentional. You’re not just “messing around.” You’re creating.
I keep mine by my front door. So when I’m heading out, I grab it—and if I have 10 spare minutes, I crochet. Those tiny moments add up.
A project bag is more than storage. It’s a reminder: This is part of my life now.
7. Optional but Highly Recommended: A Row Counter and Light
Let’s talk about two small extras that make a big difference.
Row counter: This tiny device (digital or mechanical) helps you track how many rows you’ve completed. Some patterns say, “Repeat rows 1–8 four times.” Do you really want to count 32 rows manually? Probably not.
A simple mechanical row counter (about $5) clips onto your hook or hangs from your wrist. You click it after each row. Easy.
Lighting: Crocheting in dim light strains your eyes and makes it harder to see your stitches. If you often crochet in the evening, get a small, adjustable LED lamp. I use a clip-on lamp that I attach to my bookshelf. It’s like having a spotlight on my work.
These aren’t “must-haves” like a hook or yarn—but they’re the kind of things that make crocheting feel like a pleasure, not a chore.
Final Thoughts: It’s Not About the Tools—It’s About the Joy
Let’s be honest: you didn’t start crocheting because you wanted to buy 10 tools.
You started because you wanted to create something beautiful. Something handmade. Something that carries your touch, your patience, your calm.
The tools? They’re just the helpers.
They’re the bridge between your idea and your finished piece.
When you have the right hook, the right yarn, and the right mindset—you stop worrying about mistakes and start enjoying the rhythm. The click-click of the hook. The way the yarn flows. The quiet focus that replaces scrolling through your phone.
Every expert crocheter started right where you are now. They fumbled. They dropped stitches. They unraveled projects. But they kept going—because they had the right tools, and more importantly, the right attitude.
So don’t wait for “perfect” conditions. Don’t wait until you have all the gear.
Start with just a hook, one skein of yarn, and this list. You’ve got everything you need.
Your Next Step: Start Today
Here’s what I want you to do right now:
- Grab your H-8 (5mm) hook.
- Pick up one skein of worsted weight acrylic yarn in a color you love.
- Buy a pack of 10 stitch markers ($3 at any craft store).
- Find one beginner pattern—something simple, like a “basic granny square” or “easy dishcloth.”
- Set aside 20 minutes tonight. Just 20.
No pressure. No goals. Just you, your hook, and the joy of making something with your hands.
And when you finish—even if it’s imperfect—take a picture. Celebrate it. Post it. Share it.
Because you didn’t just make a square. You started a journey.
What’s the first thing you’re going to make? Let me know in the comments—I’d love to cheer you on. And if this guide helped you, share it with a friend who’s been curious about crochet. The craft is better when we do it together.
Happy hooking. 🧶

Luiza Santos is a passionate crochet and knitting enthusiast who finds joy in transforming simple yarn into meaningful, handmade creations. With a deep love for texture, color, and craftsmanship, she believes every stitch carries a story. Luiza brings warmth, creativity, and years of hands-on experience to everything she makes, inspiring others to discover the beauty of fiber arts.