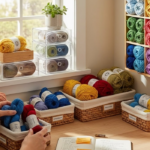
You’ve poured your heart into a crochet project—hours of stitches, careful pattern reading, maybe even a few tears when you dropped a stitch—but then… you run out of yarn. Or worse—you realize the color you ordered is not the shade you imagined. Or maybe you just found a gorgeous skein at a thrift store and want to use it, but it’s not the exact brand or weight listed in your pattern.
If this sounds familiar, you’re not alone. And guess what? You don’t have to start over.
Yarn substitution isn’t just a workaround—it’s a superpower. The best crocheters aren’t the ones who always use the “right” yarn. They’re the ones who know how to make any yarn work. Whether you’re on a budget, shopping locally, or just feeling adventurous, mastering yarn substitution lets you create more, stress less, and truly make each project your own.
In this guide, we’ll walk through the five essential tips every crocheter needs to know to swap yarns with confidence. No more guessing. No more ruined projects. Just beautiful, personalized creations—no matter what’s on the shelf.
Let’s dive in.
1. Match the Weight, Not Just the Label
The most common mistake? Assuming all “worsted weight” yarns are the same.
Here’s the truth: yarn weight is about thickness—not brand, not name, not even the number on the ball band. Two skeins labeled “medium weight” (Category 4) can feel completely different in your hands. One might be fluffy and airy; another, dense and tight.
So how do you really know if a substitute will work?
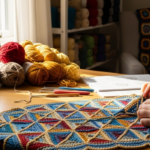
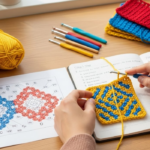
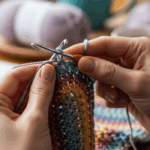
Grab your hook and make a gauge swatch.
Yes, I know—swatching feels like homework. But trust me, it’s the fastest way to avoid disaster. Crochet a 4×4 inch square using the hook size recommended on your new yarn’s label. Then count your stitches and rows. Compare that to the pattern’s gauge (usually listed as “16 sts and 12 rows = 4 inches”).
If you’re off by more than 1–2 stitches per inch, you’ll need to adjust your hook size. Go up a size if your swatch is too small; go down if it’s too big. You’re not trying to match the exact hook size the pattern used—you’re trying to match the result.
Real-life example: I once substituted a bulky acrylic for a wool blend in a baby blanket pattern. The acrylic was thicker and less elastic. My swatch came out too tight, and the blanket ended up small and stiff. After switching to a larger hook (from 5.5mm to 6.5mm), the fabric opened up beautifully—and the baby loved the softness.*
Pro tip: Keep a swatch journal. Take photos and note the yarn name, hook size, and stitch count. Over time, you’ll build a personal reference library that saves you hours on future projects.
2. Fiber Content Matters More Than You Think
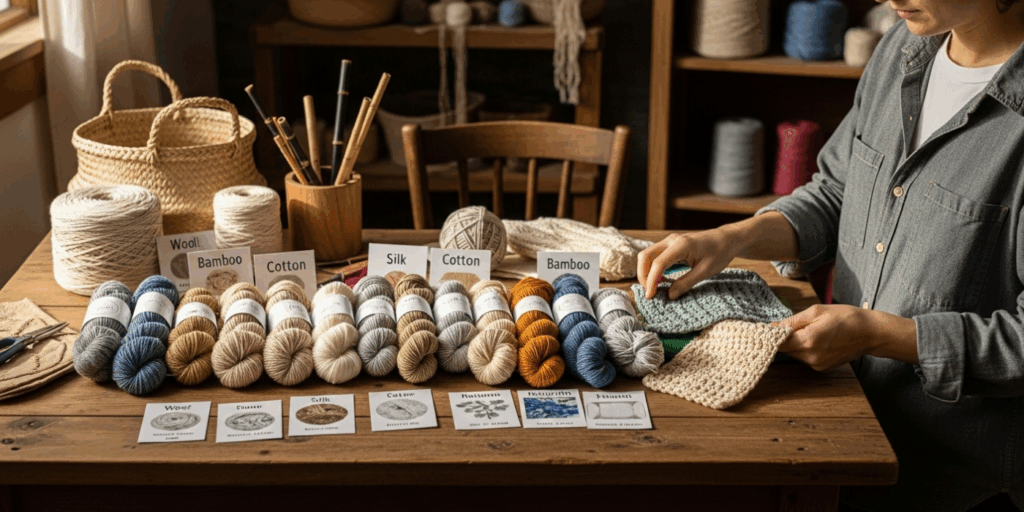
Here’s a secret: yarn isn’t just about looks—it’s about behavior.
A cotton yarn behaves nothing like a wool yarn. A silk blend drapes differently than an acrylic. And if you’re making something that needs to hold its shape—like a structured bag, a hat, or a sweater—you can’t just swap fibers without consequences.
Let’s break it down:
- Wool & Alpaca: Warm, elastic, and great for garments. They “bloom” with washing, filling in gaps for a cozy finish. But they can stretch out over time if not supported.
- Cotton & Linen: Sturdy, breathable, and perfect for summer wear or dishcloths. But they have little stretch. If you substitute cotton for wool in a sweater, you might end up with a garment that sags or doesn’t hug your body right.
- Acrylic: Affordable, easy-care, and widely available. But cheap acrylics can feel scratchy, pill easily, or look “plasticky.” Higher-quality acrylics (like Lion Brand’s Wool-Ease or Red Heart’s Super Saver) are much more forgiving.
- Blends: Often the sweet spot! A wool-acrylic blend gives you warmth, durability, and machine-washability. Perfect for gifts or everyday wear.
Story time: I made a shawl using 100% cotton, thinking “it’ll be light and perfect for spring.” But after blocking, it hung like a wet towel—no drape, no flow. I had to frog it and start over with a silk-wool blend. Lesson learned: fiber dictates drape. Always consider how the finished item will behave in real life.*
Ask yourself:
- Will this item need to stretch? (Sweaters, socks) → Choose wool or blends.
- Will it get washed often? (Baby items, dishcloths) → Cotton or acrylic.
- Do I want it to feel luxurious? → Silk, cashmere, or bamboo.
Your choice of fiber isn’t just practical—it’s emotional. The right fiber makes your project feel right.
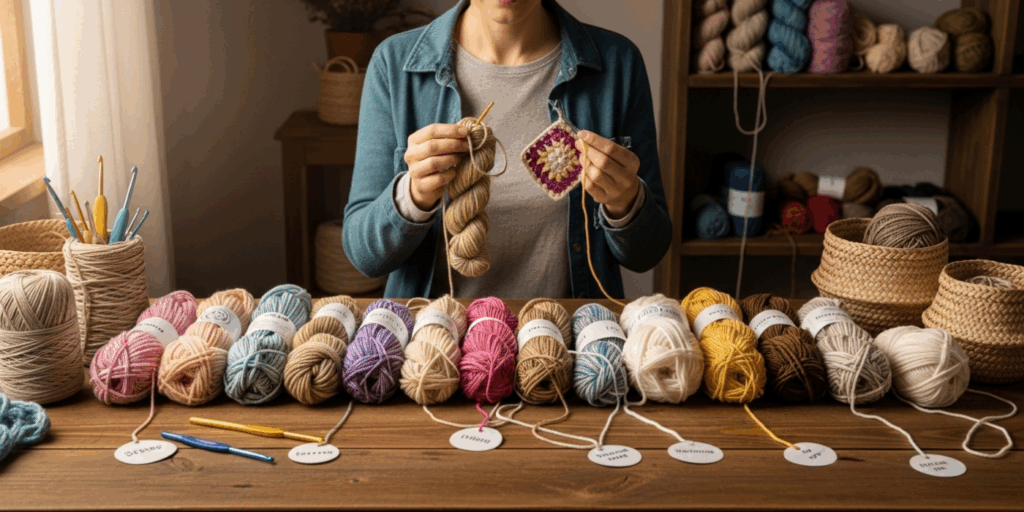
3. Color & Dye Lots: Don’t Get Caught Off Guard
You found the perfect yarn. The color is exactly what you imagined. You buy two skeins. You start your project. And then—uh oh—you notice the third skein looks slightly different.
That’s a dye lot issue.
Yarn is dyed in batches. Even within the same brand and color name, skeins from different dye lots can vary in tone. One might be a touch brighter, another a little more muted. In a large project like a blanket or sweater, that difference becomes glaring.
How to avoid this nightmare:
- Always check the dye lot number on the yarn label. Write it down.
- Buy all skeins at once. Even if you have to wait a week for shipping, don’t order them separately.
- If you must buy more later, call the store or manufacturer. Ask if they have leftover dye lots. Some online shops even let you search by dye lot.
- Plan your color changes strategically. If you’re working on a striped blanket, alternate skeins every few rows. This blends any subtle differences so they’re barely noticeable.
I learned this the hard way with a granny square afghan. I bought three skeins from different stores. When I joined them, the center squares looked like they belonged to a different project. I had to rip out half of it and re-knit using only skeins from the same dye lot. It took me three days. Don’t be me.
Bonus tip: If you’re working with variegated or self-striping yarns, the color shifts can mask small dye lot differences. That’s your advantage! Use them to your benefit.
4. Yardage & Skein Size: The Math You Can’t Skip
Let’s say your pattern calls for 1,000 yards of yarn. You find a beautiful substitute—but it only has 180 yards per skein, instead of the original’s 200.
Seems close, right? But 1,000 ÷ 180 = 5.56 skeins. That means you’ll need six skeins, not five.
Underestimate this, and you’ll be halfway through your project with no more yarn left. And good luck finding another skein with the same dye lot.
Here’s your simple formula:
Total yards needed ÷ yards per skein = Number of skeins to buy
Then round up. Always.
And don’t forget to account for extra yardage if you’re:
- Adding borders or edging
- Making a larger size
- Using a looser gauge (which uses more yarn)
- Working with a stitch pattern that’s dense (like cables or popcorn stitches)
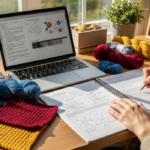
Pro tip: Use apps like Ravelry or YarnSub.com to compare yarns. They’ll tell you how many skeins you need based on your pattern’s yardage and the substitute’s specs. Or better yet—keep a simple spreadsheet. Name the pattern, original yarn, substitute yarn, yardage needed, and how many skeins to buy. It’s a game-changer.
I once made a cardigan using a substitute yarn and bought exactly five skeins, thinking it was enough. I finished the body… and had 20 yards left. The sleeves? I had to frog the whole thing and buy two more skeins. Lesson? Always buy extra. At least one full skein more than you think you need.
5. Test, Adapt, and Trust Your Instincts
Here’s the most powerful tip of all: You are the expert of your own project.
No pattern, no blog post, no YouTube tutorial knows your hands, your tension, or your vision better than you do.
That’s why substitution isn’t just about matching numbers—it’s about experimentation.
Try this: When you’re unsure about a yarn, make a small sample. Not a full swatch—a mini project. A coaster. A tiny amigurumi. A single motif.
Crochet it. Wash it. Block it. Wear it. See how it behaves.
Does it pill after one wash?
Does it feel too stiff for a scarf?
Does the color look different under natural light?
These tiny tests tell you more than any label ever could.
And here’s the beautiful part: sometimes, substitution leads to something better than the original.
I once substituted a novelty yarn with fuzzy texture for a lace shawl pattern. The pattern called for silk, but I wanted something cozy and fun. The result? A cloud-like wrap that looked like spun sugar. It wasn’t what the designer intended—but it became my most-loved piece.
Your project doesn’t have to be “correct.” It just has to be yours.
So when you’re holding that beautiful, unexpected yarn—maybe it’s on sale, maybe it’s leftover from a friend, maybe it’s from a thrift store bin—ask yourself:
What if this is exactly what my project needs?
Then try it.
Conclusion: You’re Not Just Substituting Yarn—You’re Creating Magic
Yarn substitution isn’t about compromise. It’s about creativity.
It’s about turning a problem—running out of yarn, a color being discontinued, a budget constraint—into an opportunity to make something uniquely yours. It’s the difference between following a recipe and cooking from the heart.
When you learn to read yarn weights, understand fiber behavior, check dye lots, calculate yardage, and trust your instincts, you don’t just finish projects—you own them.
You stop waiting for the “perfect” yarn. You start making magic with what’s in front of you.
And that’s the real joy of crochet.
So next time you’re staring at a skein that’s not on the pattern’s list, don’t panic. Smile. Grab your hook. Make a swatch. Test it. See what happens.
Because the best crocheters aren’t the ones who follow instructions perfectly.
They’re the ones who know when to bend them—and make something even more beautiful because of it.
Your Turn:
Have you ever swapped yarn and ended up with a project you loved even more than the original? Or maybe you’ve been burned by a bad substitution—what did you learn?
Drop your story in the comments below. Let’s share our wins, our wobbles, and our wonderful yarn adventures together. And if you found this guide helpful, share it with a fellow crocheter who needs a little more confidence in their stash.
Happy hooking—and may your yarn always be just right. 🧶

Luiza Santos is a passionate crochet and knitting enthusiast who finds joy in transforming simple yarn into meaningful, handmade creations. With a deep love for texture, color, and craftsmanship, she believes every stitch carries a story. Luiza brings warmth, creativity, and years of hands-on experience to everything she makes, inspiring others to discover the beauty of fiber arts.